In this tutorial, we will explain how to adjust a Shimano front derailleur.
You will need Allen wrenches, cutting pliers, a guide sleeve (also called a liner), derailleur cables, and brake cables.
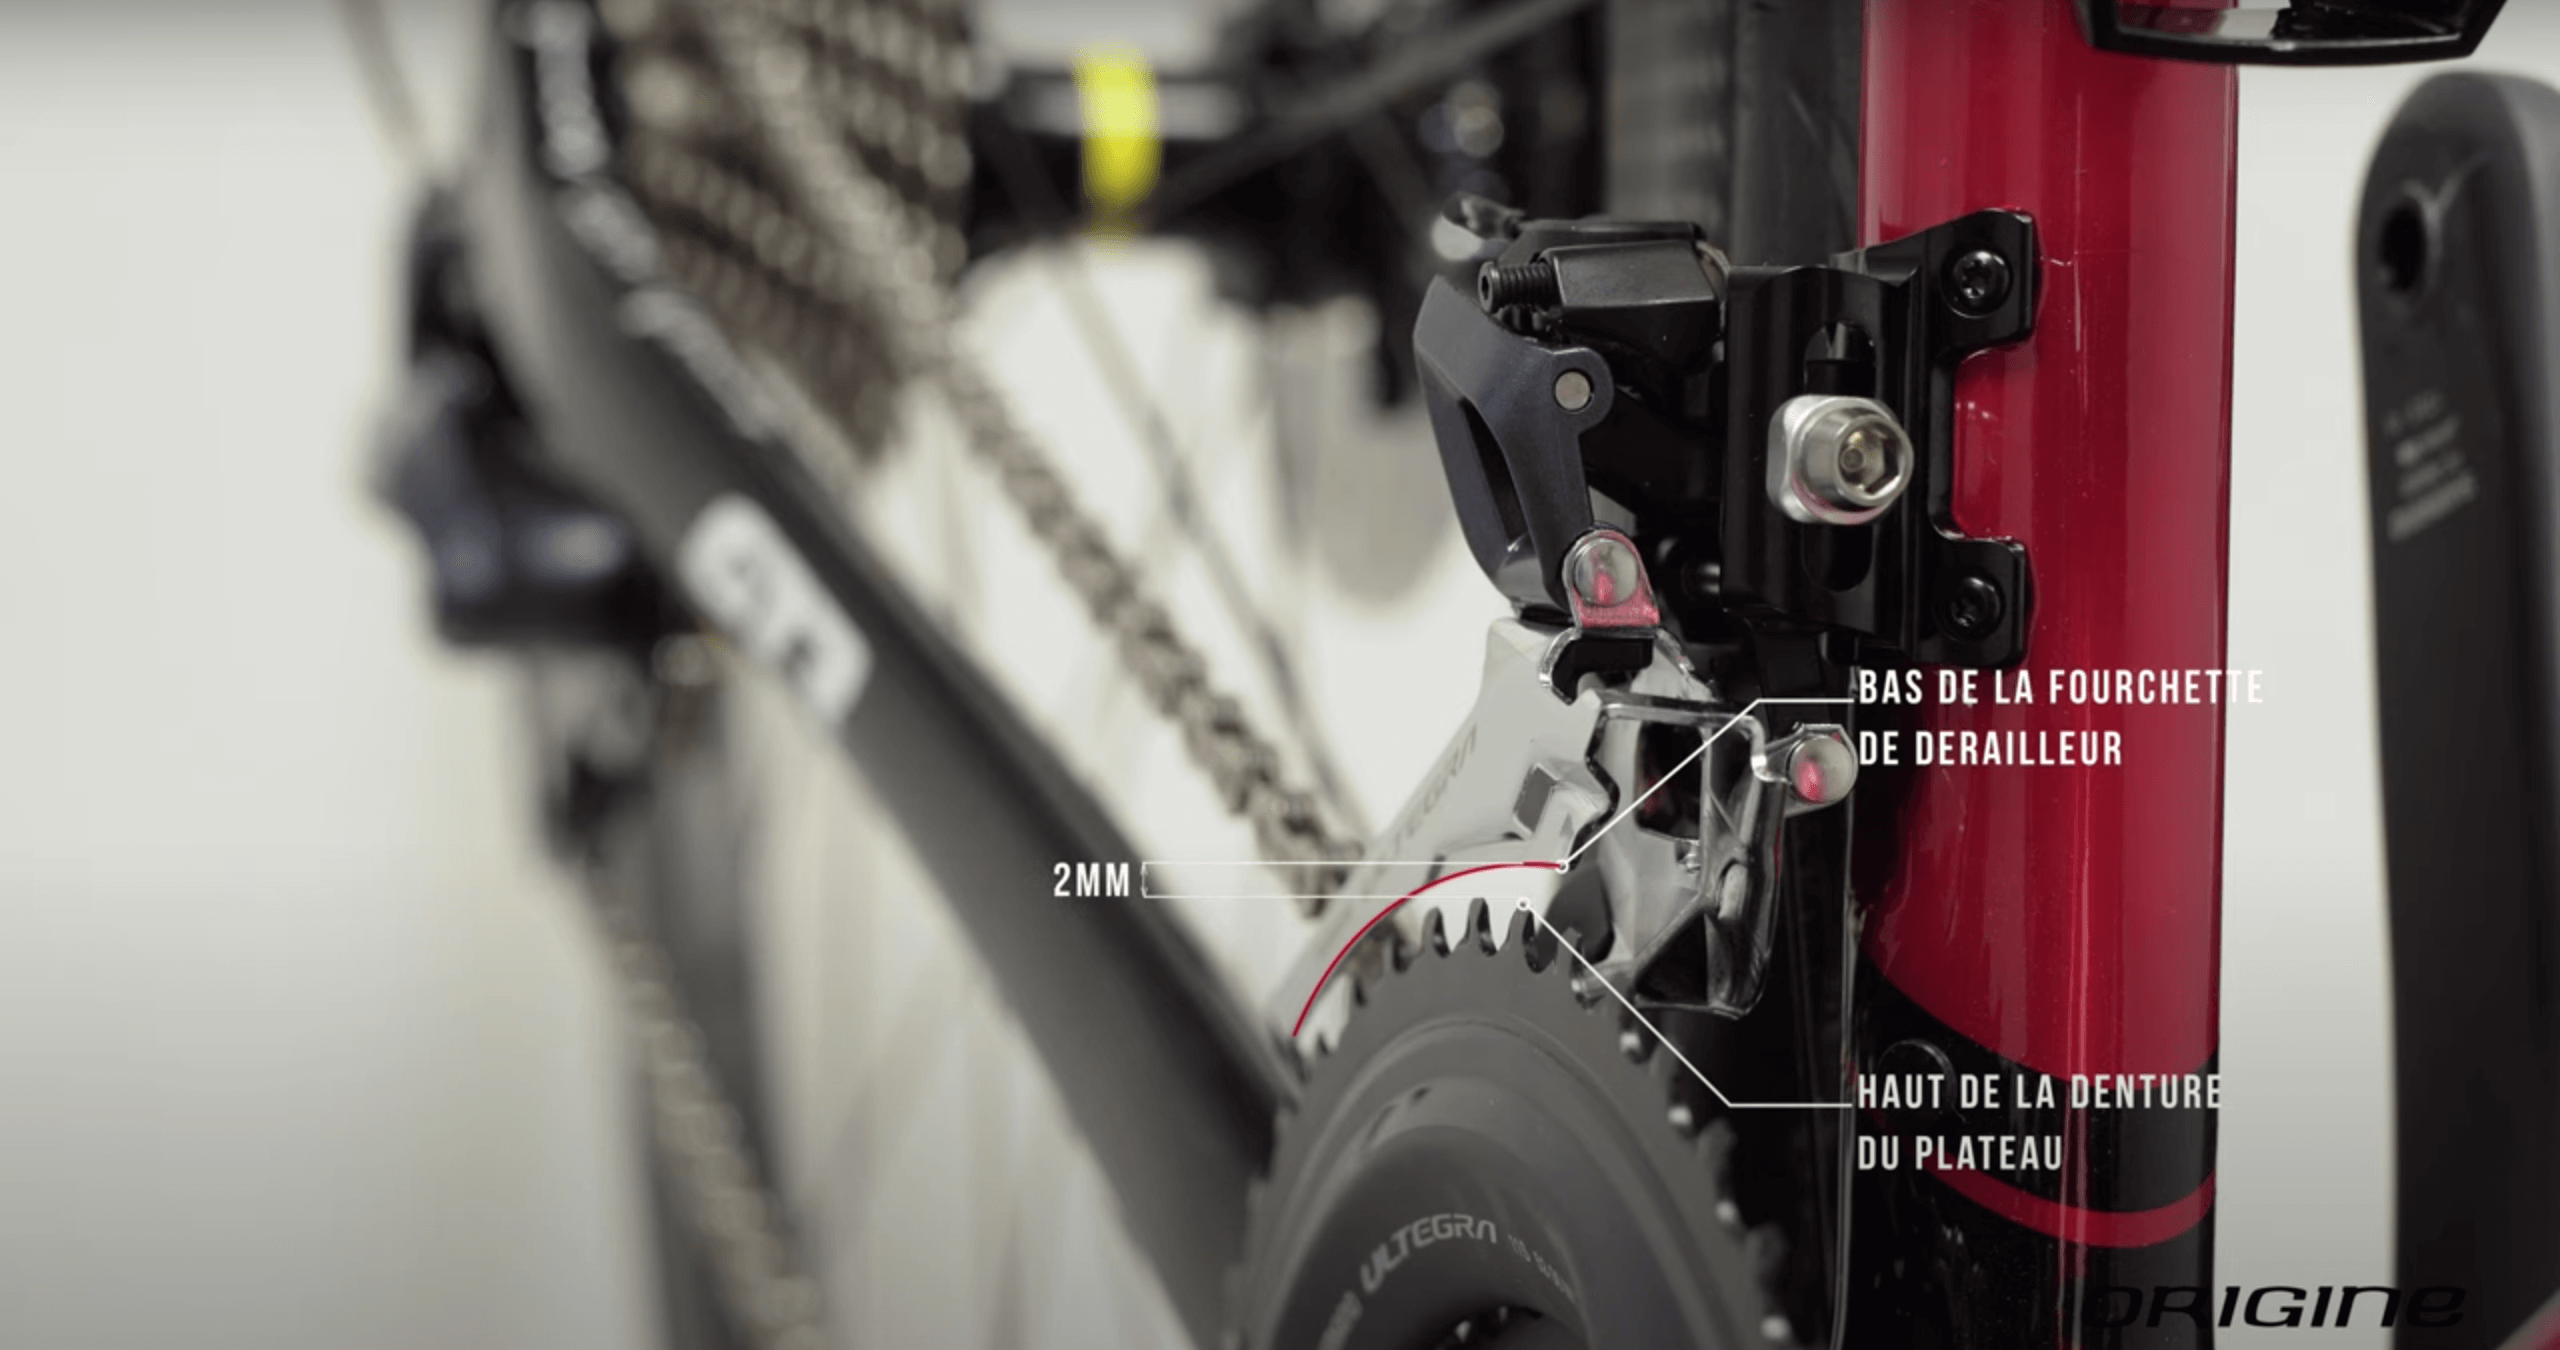
Before starting the adjustment, check the position of the front derailleur. There should be a 2 to 3 mm gap between the top of the teeth on the large chainring and the bottom of the derailleur cage. If this is not the case, you need to adjust the height of the derailleur cage.
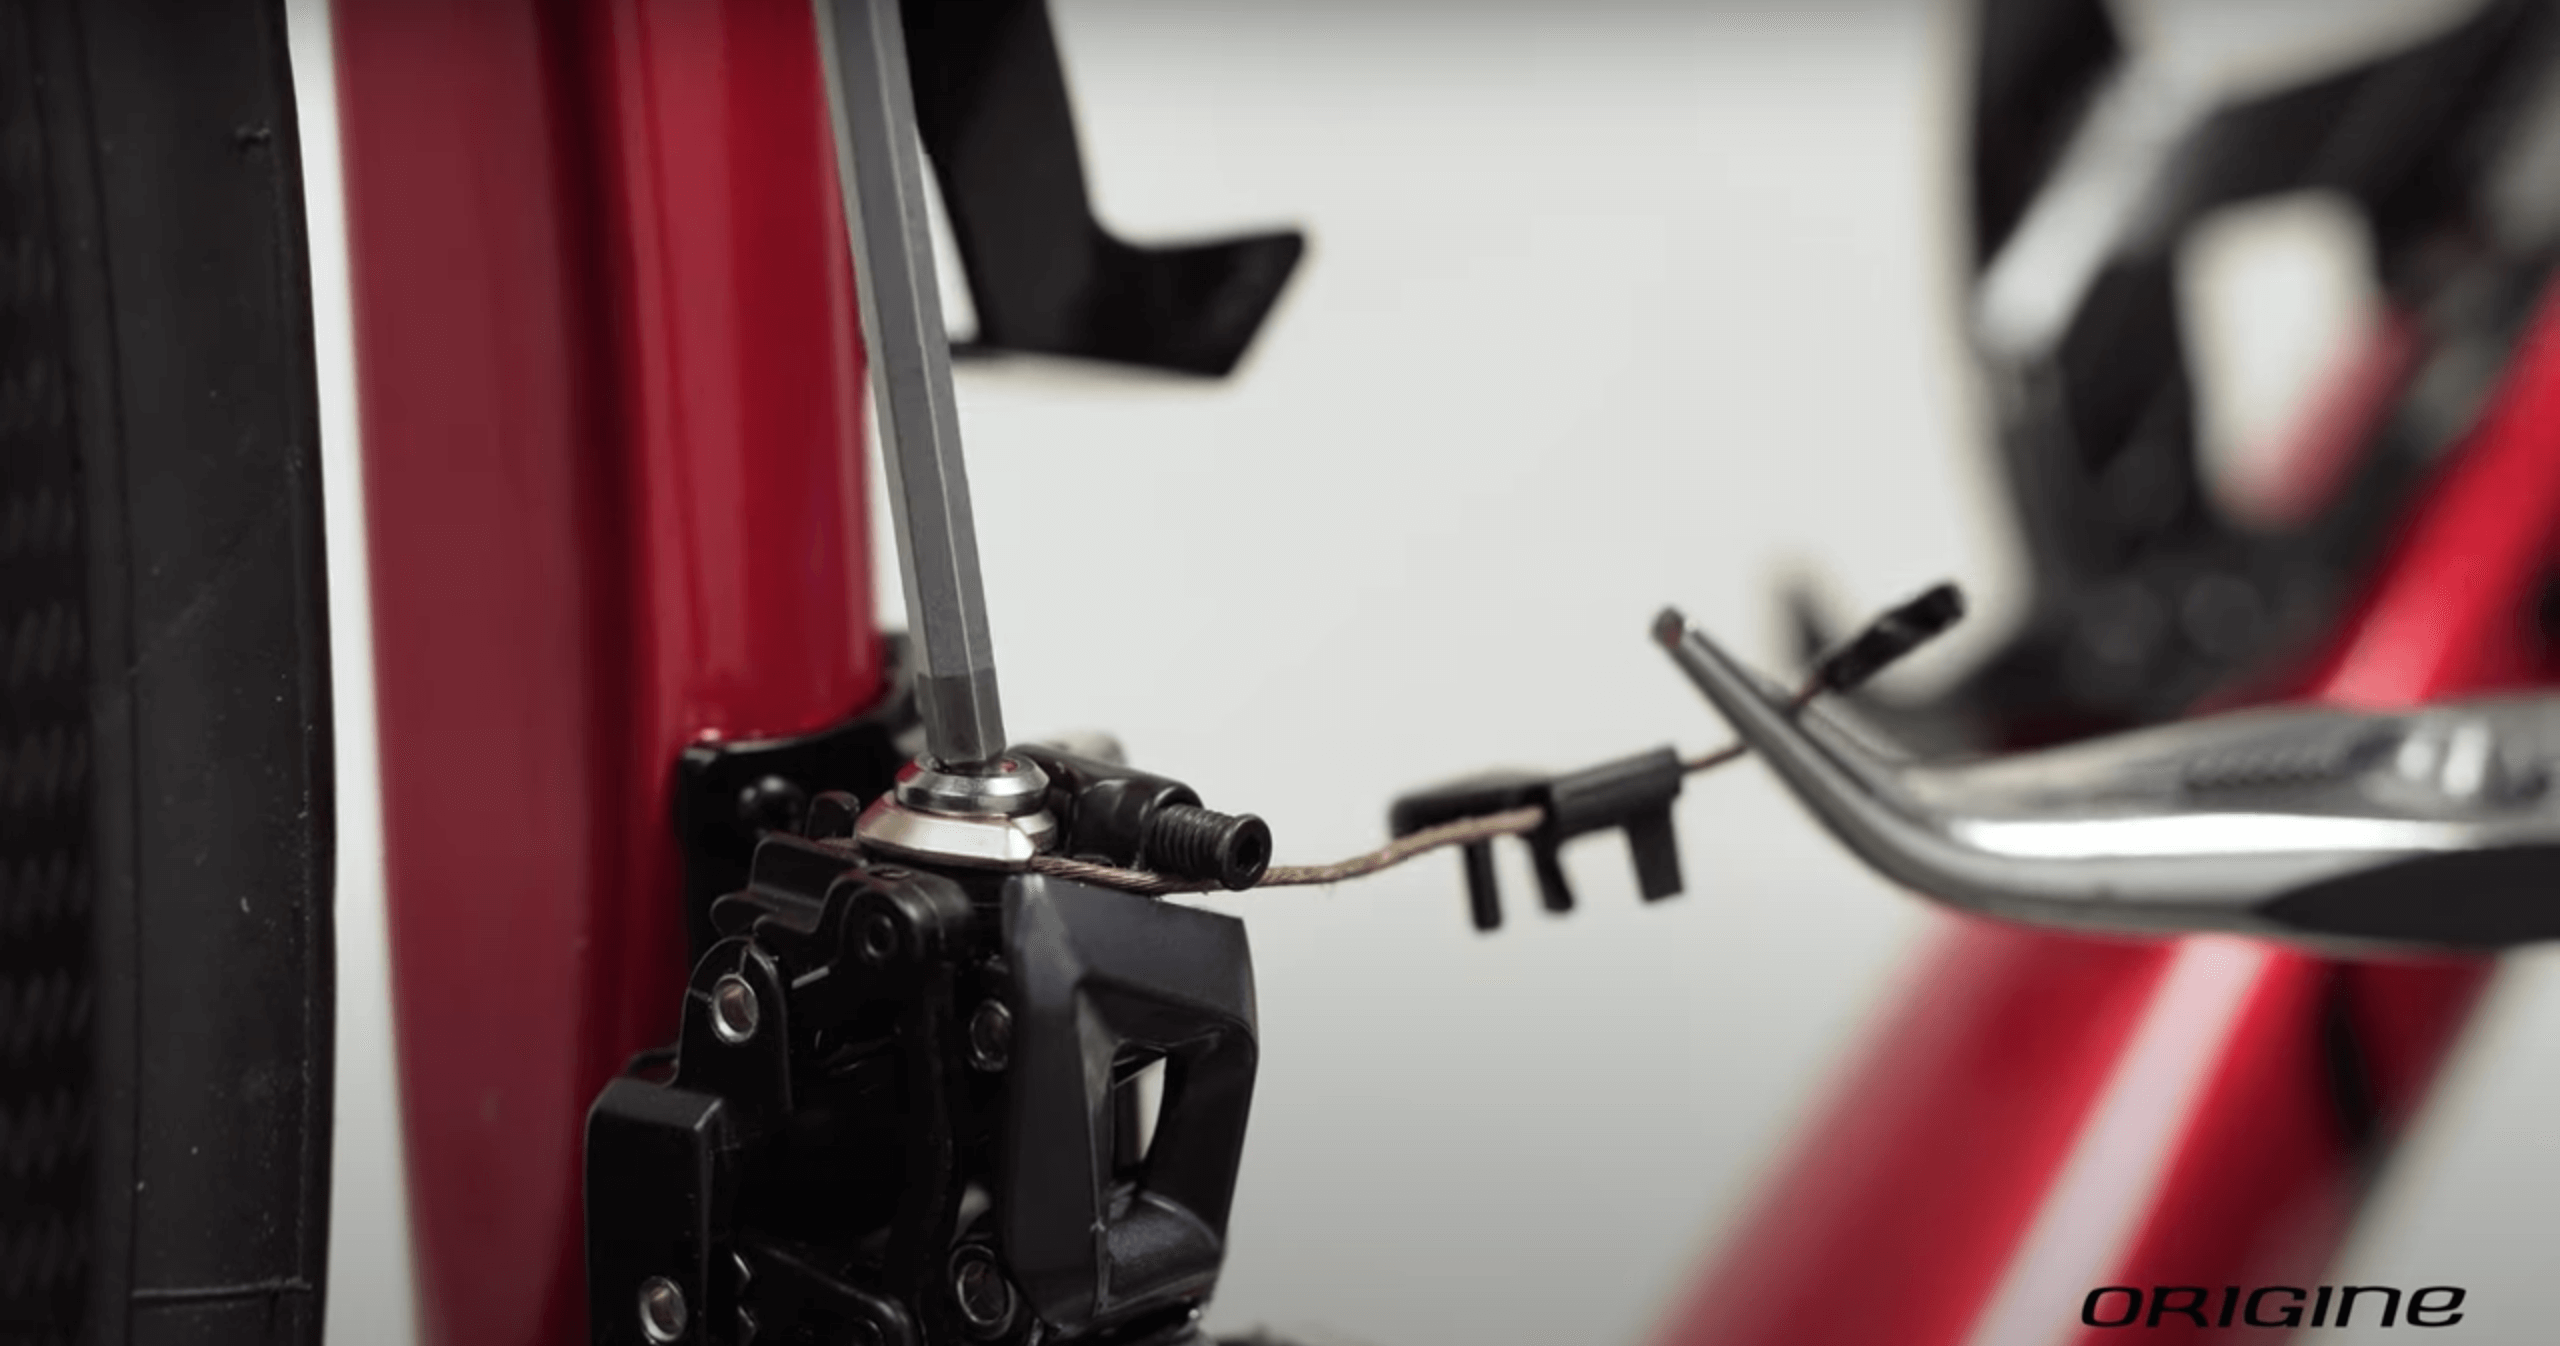
You can now shift the gears to the small chainring and the smallest cog. Remove the protective cover. Loosen the cable anchor bolt with a 4mm Allen wrench and disengage the cable.
You can loosen the cable tension screw with a 2mm Allen wrench. Using needle-nose pliers, place the cable back under the anchor bolt, ensuring it passes through the designated cable path.
Before tightening the cable with the anchor bolt, make sure the tension adjustment screw is back in its initial position. Tension the cable and tighten the anchor bolt.
Adjusting the Low Limit Screw
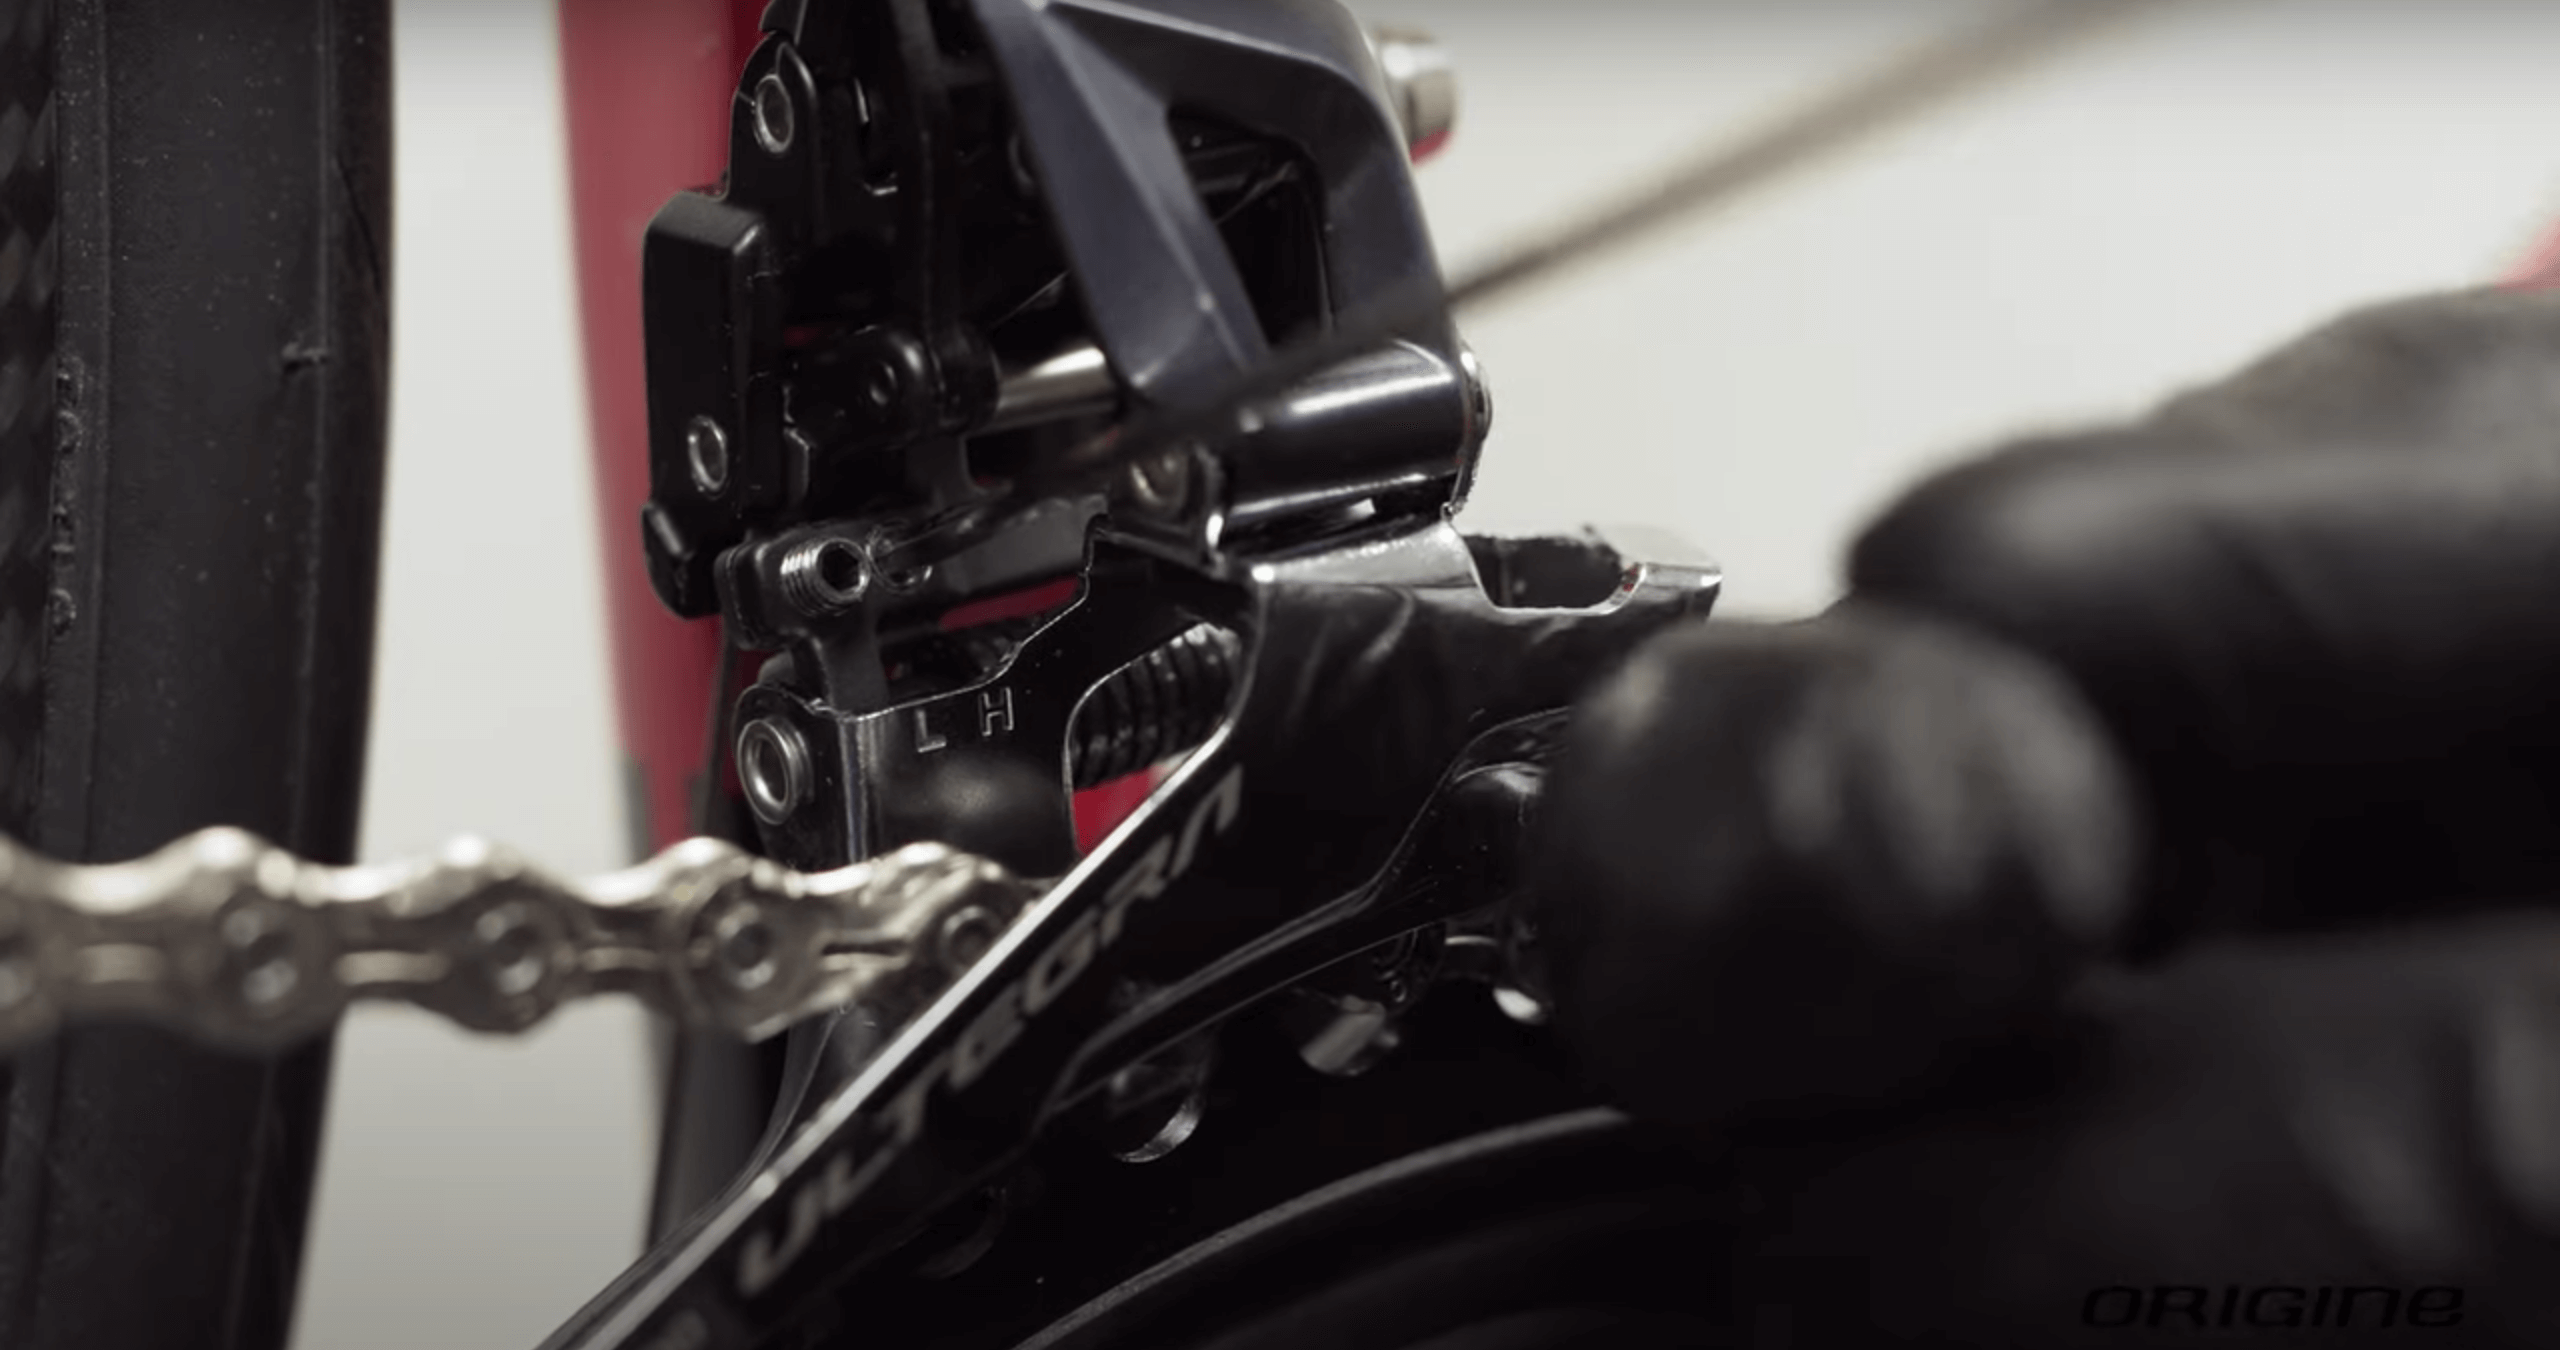
We will now adjust the low limit screw using the “H” screw. Using the left shifter, shift to the large chainring. Tighten or loosen the low limit screw, the “H” screw, as needed. When you tighten it, the derailleur cage will move outward. Conversely, when you loosen it, the cage will move inward. The goal is to get the inner side of the derailleur cage as close as possible to the chain without it touching.
Adjusting the High Limit Screw on Your Shimano Front Derailleur
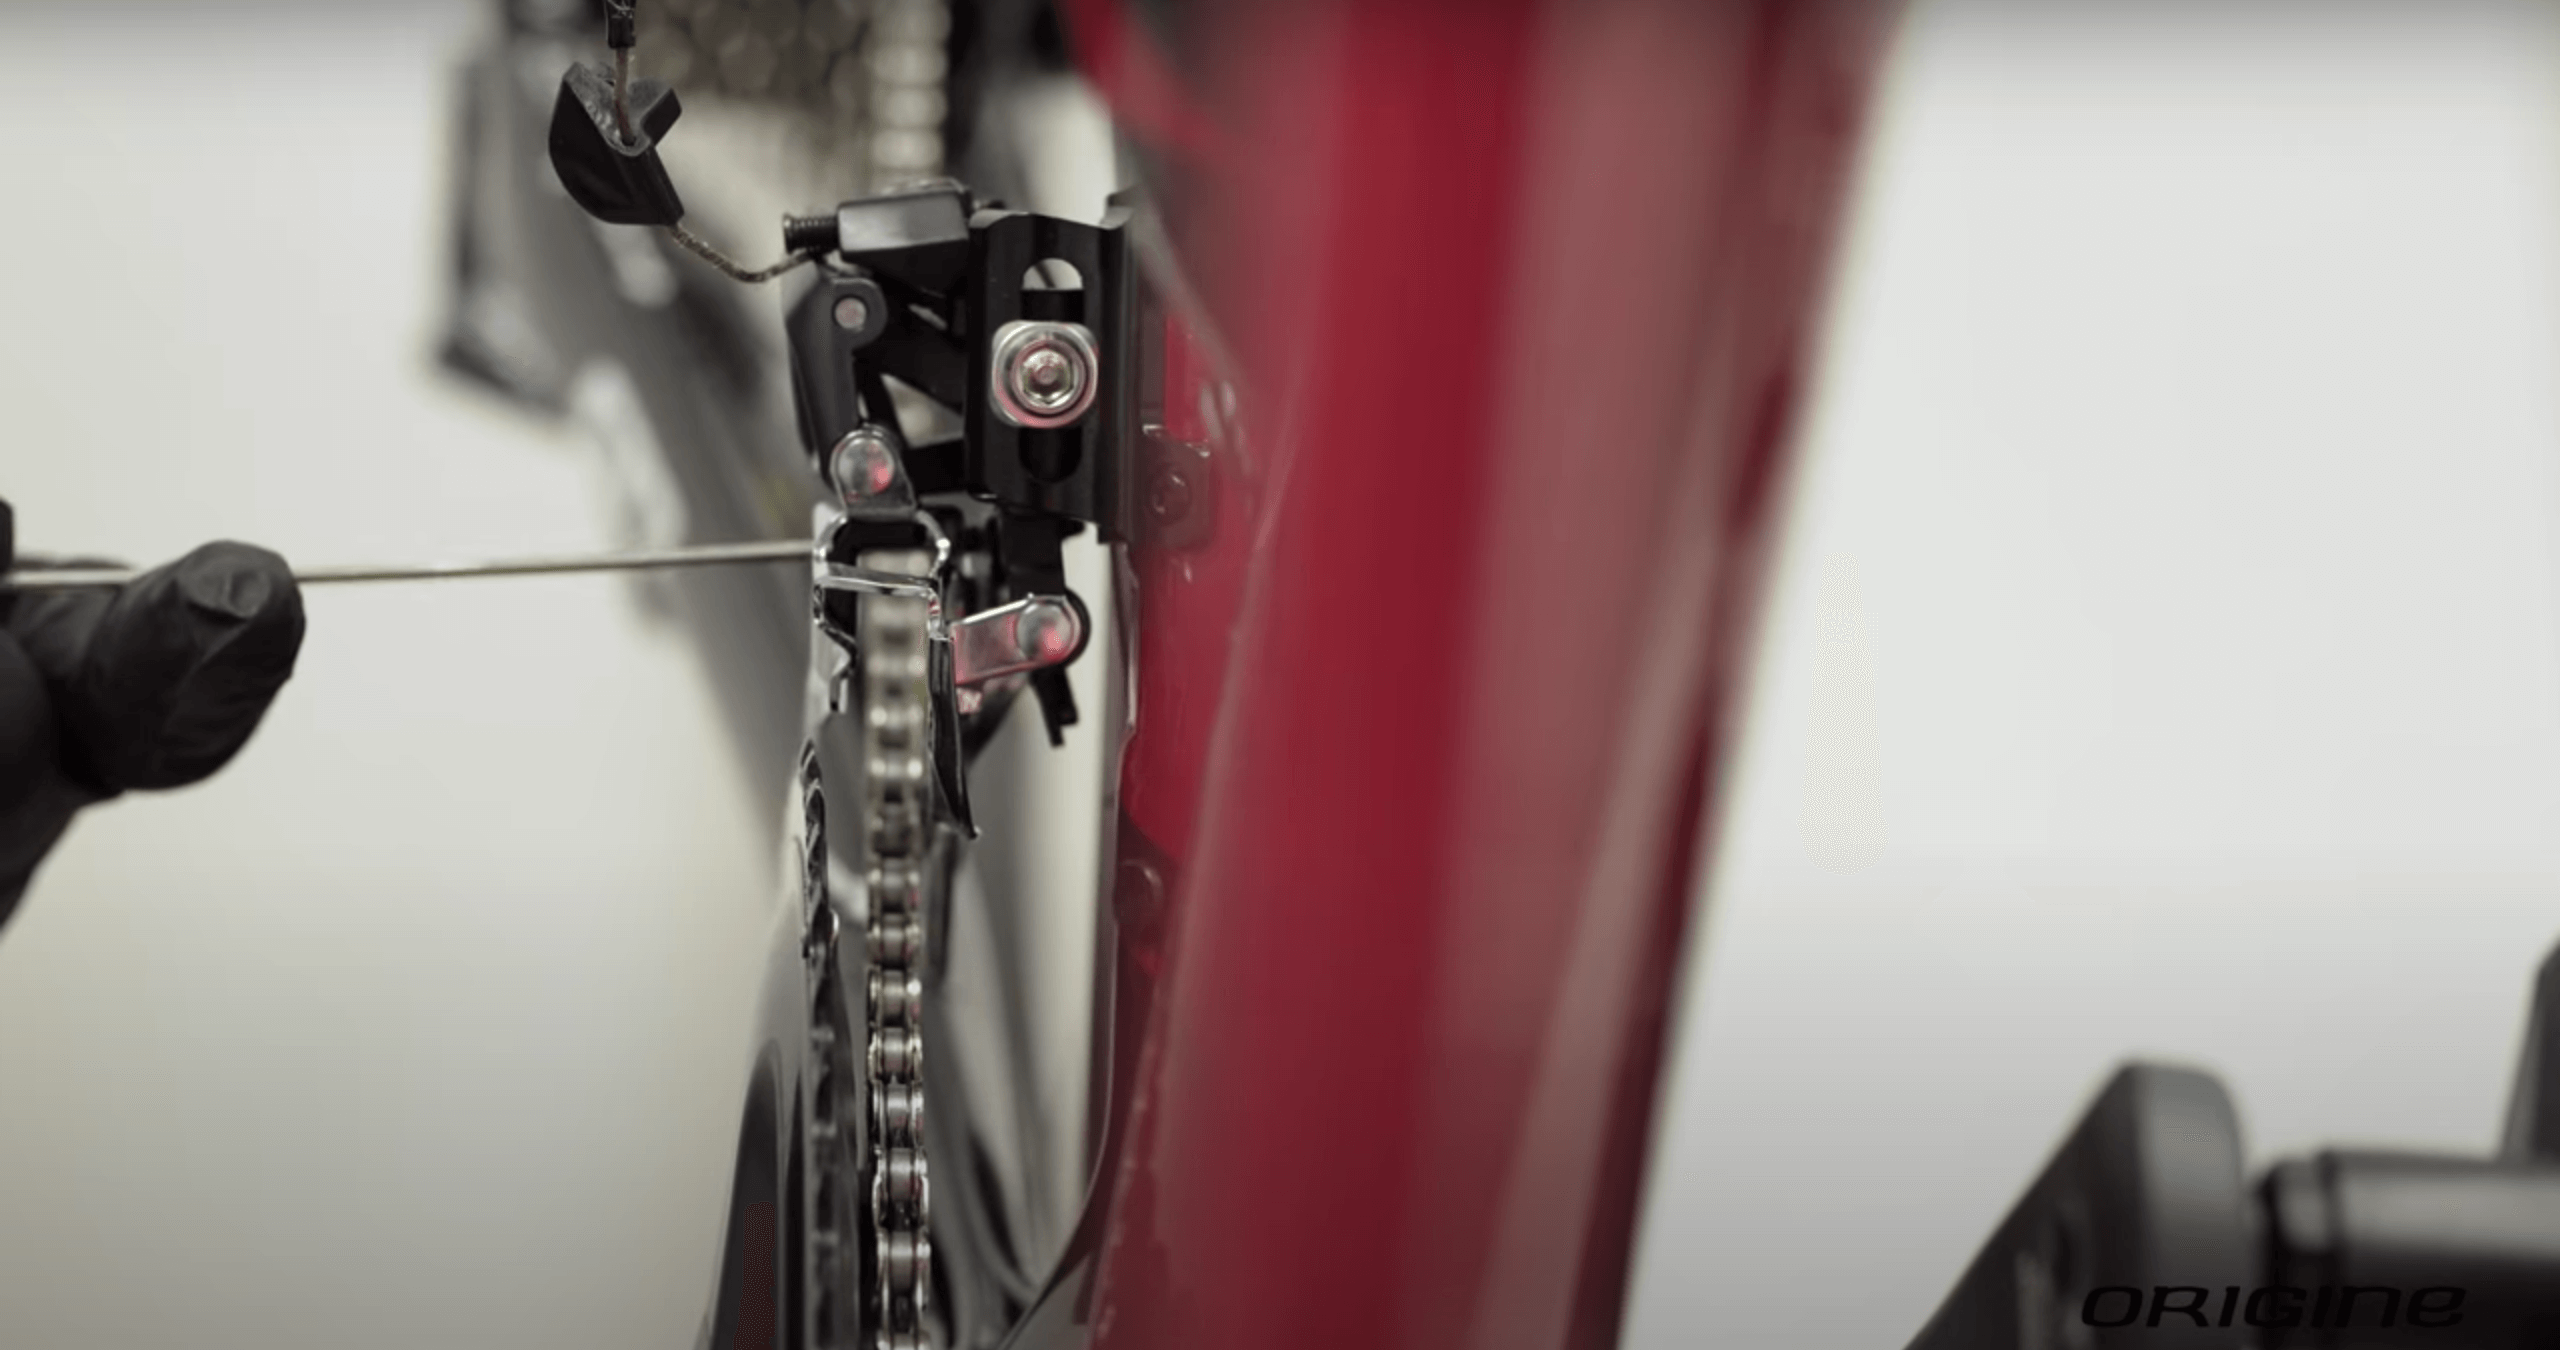
We now need to adjust the high limit screw using the “L” screw. Shift to the small chainring and the largest cog. As with the low limit adjustment, tighten or loosen the high limit screw, or “L” screw, so that the outer side of the derailleur cage gets as close as possible to the chain without touching it.
Adjusting the Tension Screw
We will now finalize the adjustment with the tension screw. Actuate the left shifter with a micro-click. Be careful not to force the shifter when making a micro-click adjustment.
Tighten the cable tension screw until the markers align.
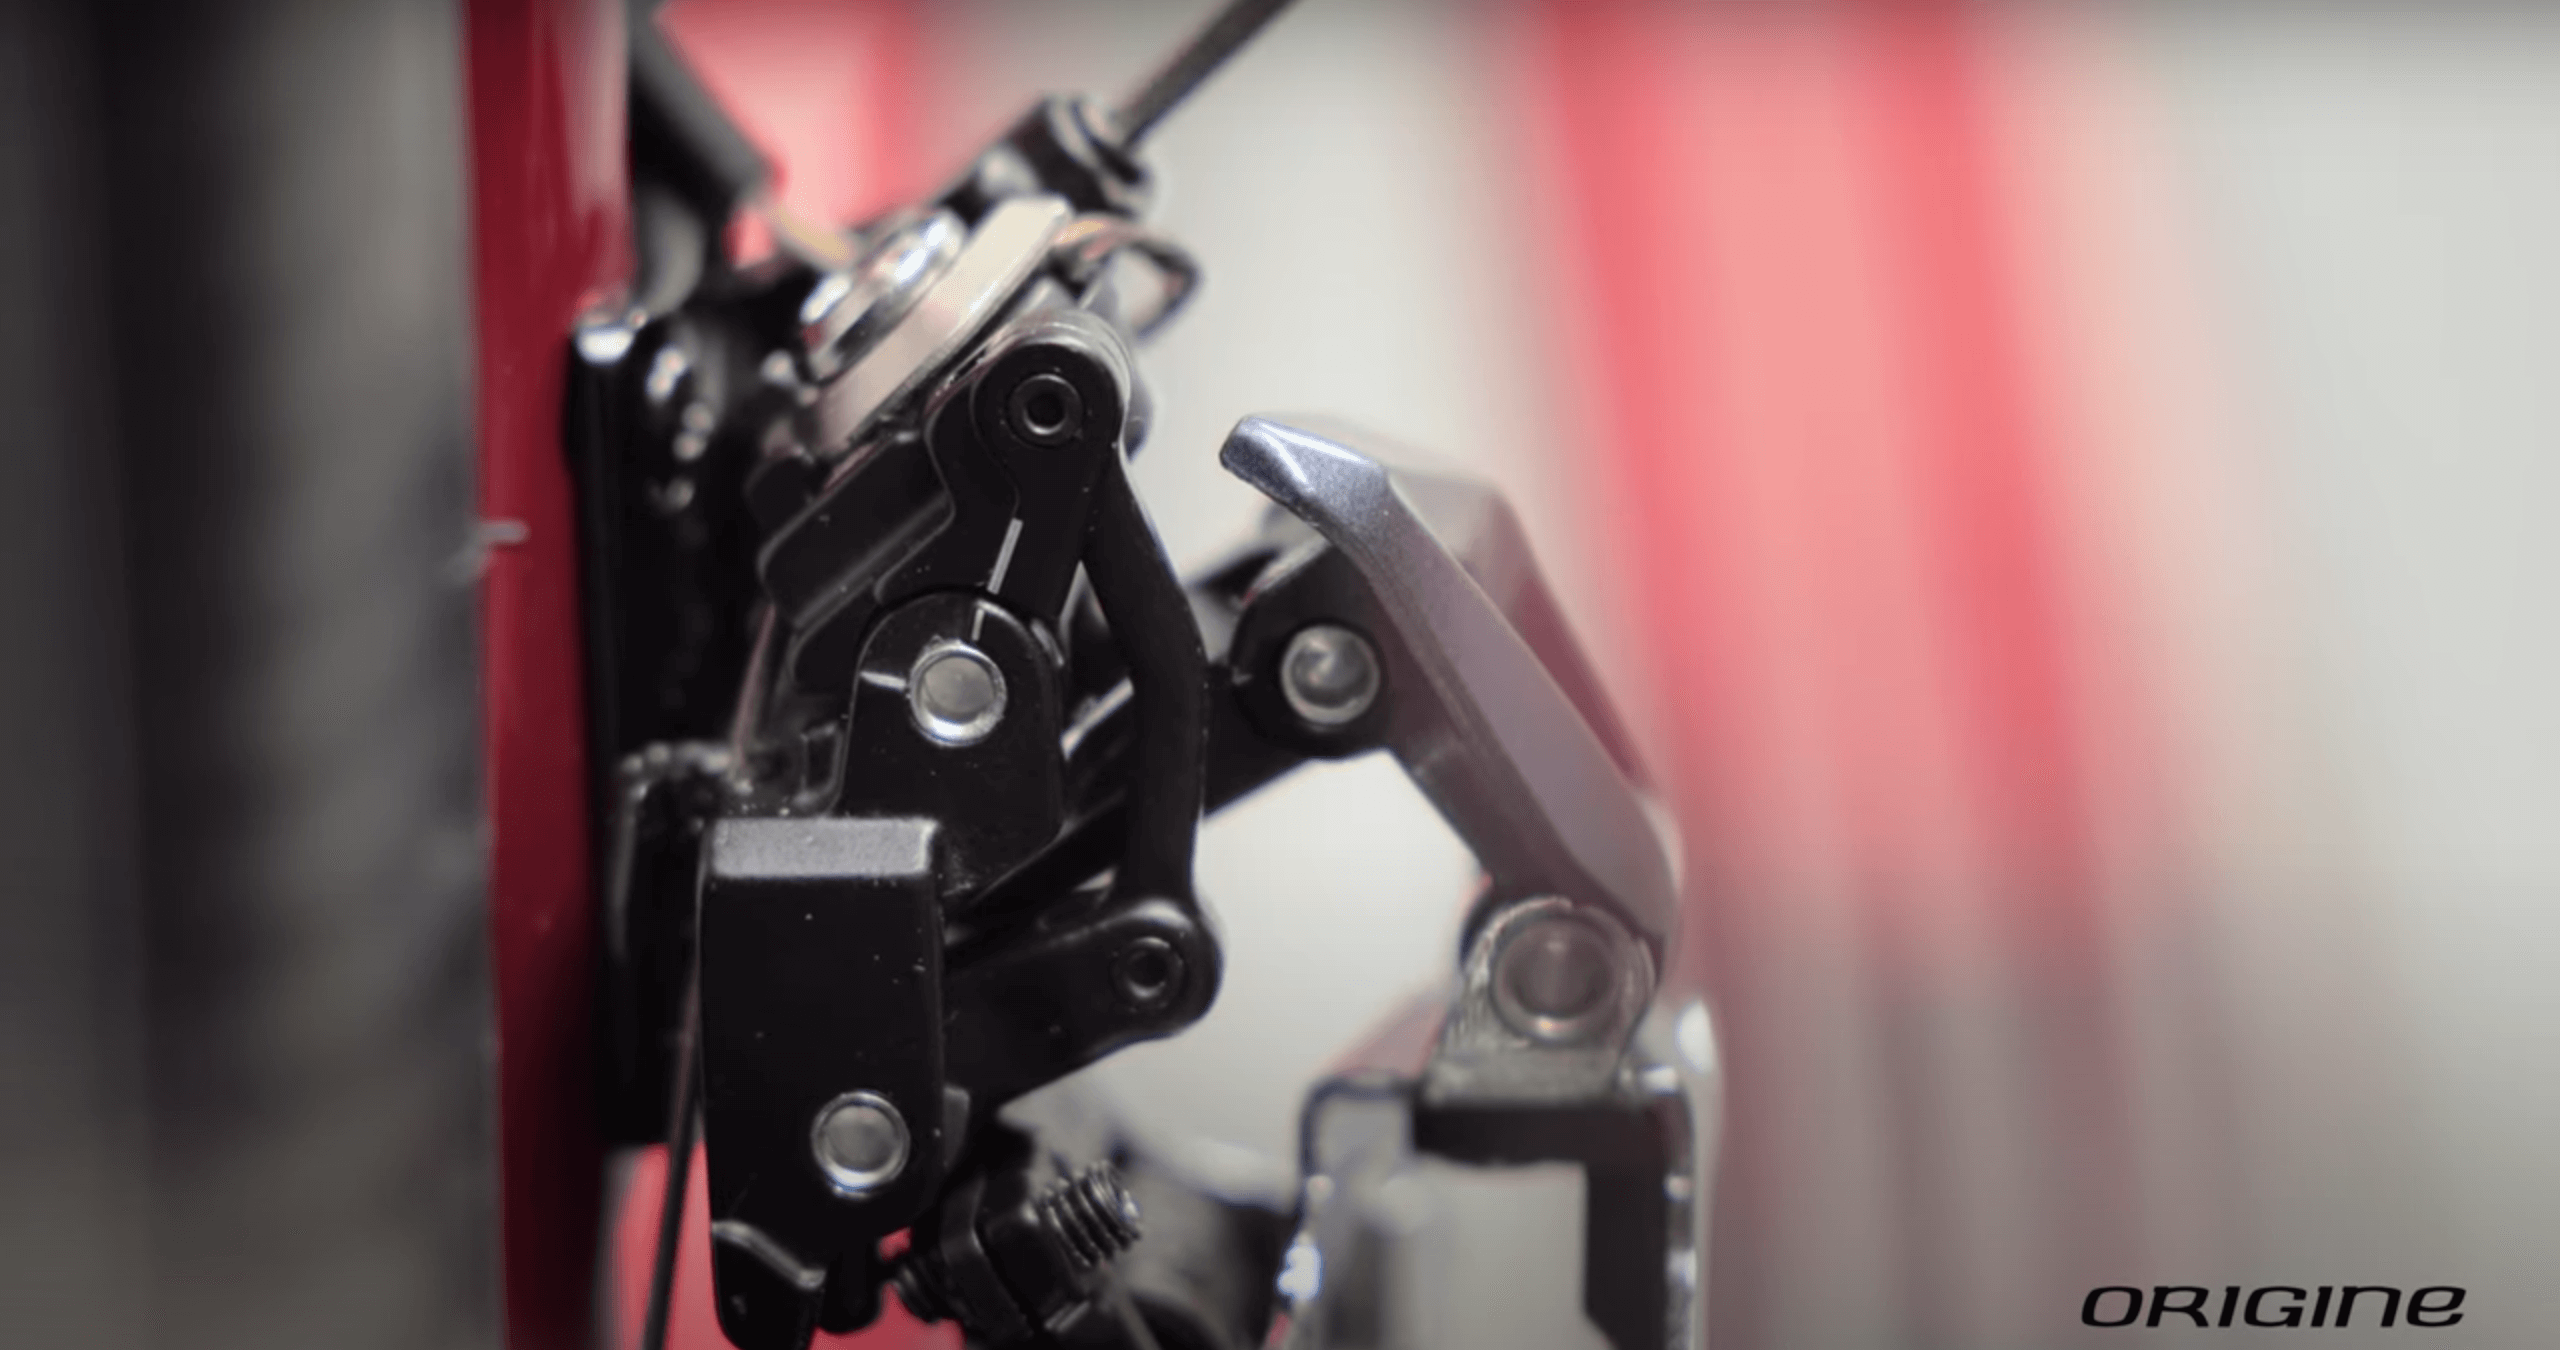
Finally, actuate the left shifter as if you want to shift down to the small chainring. This will allow you to loosen the cable and reposition the protective cover.
The Origine team is composed of experts, cycling enthusiasts, and practitioners in all disciplines (road, gravel, cross-country, bikepacking, ultra-distance, DH, etc.). The articles written by the Origine team aim to inspire, advise, and inform you to support you in your cycling practice.


![[Guide] How to Get Started in Ultra-Cycling ?](https://cyclisthouse.origine-cycles.com/wp-content/uploads/2021/12/BikingMan-x-Origine-Cycles-1_adobespark-400x250.jpeg)
