In this tutorial, we will explain how to adjust a Shimano rear derailleur.
You will need a Phillips screwdriver, an Allen wrench, and pliers.
Before starting, make sure you are on the smallest cog and the smallest chainring.
Using an Allen wrench, you will then need to detach the tension cable installed at the rear of the derailleur.
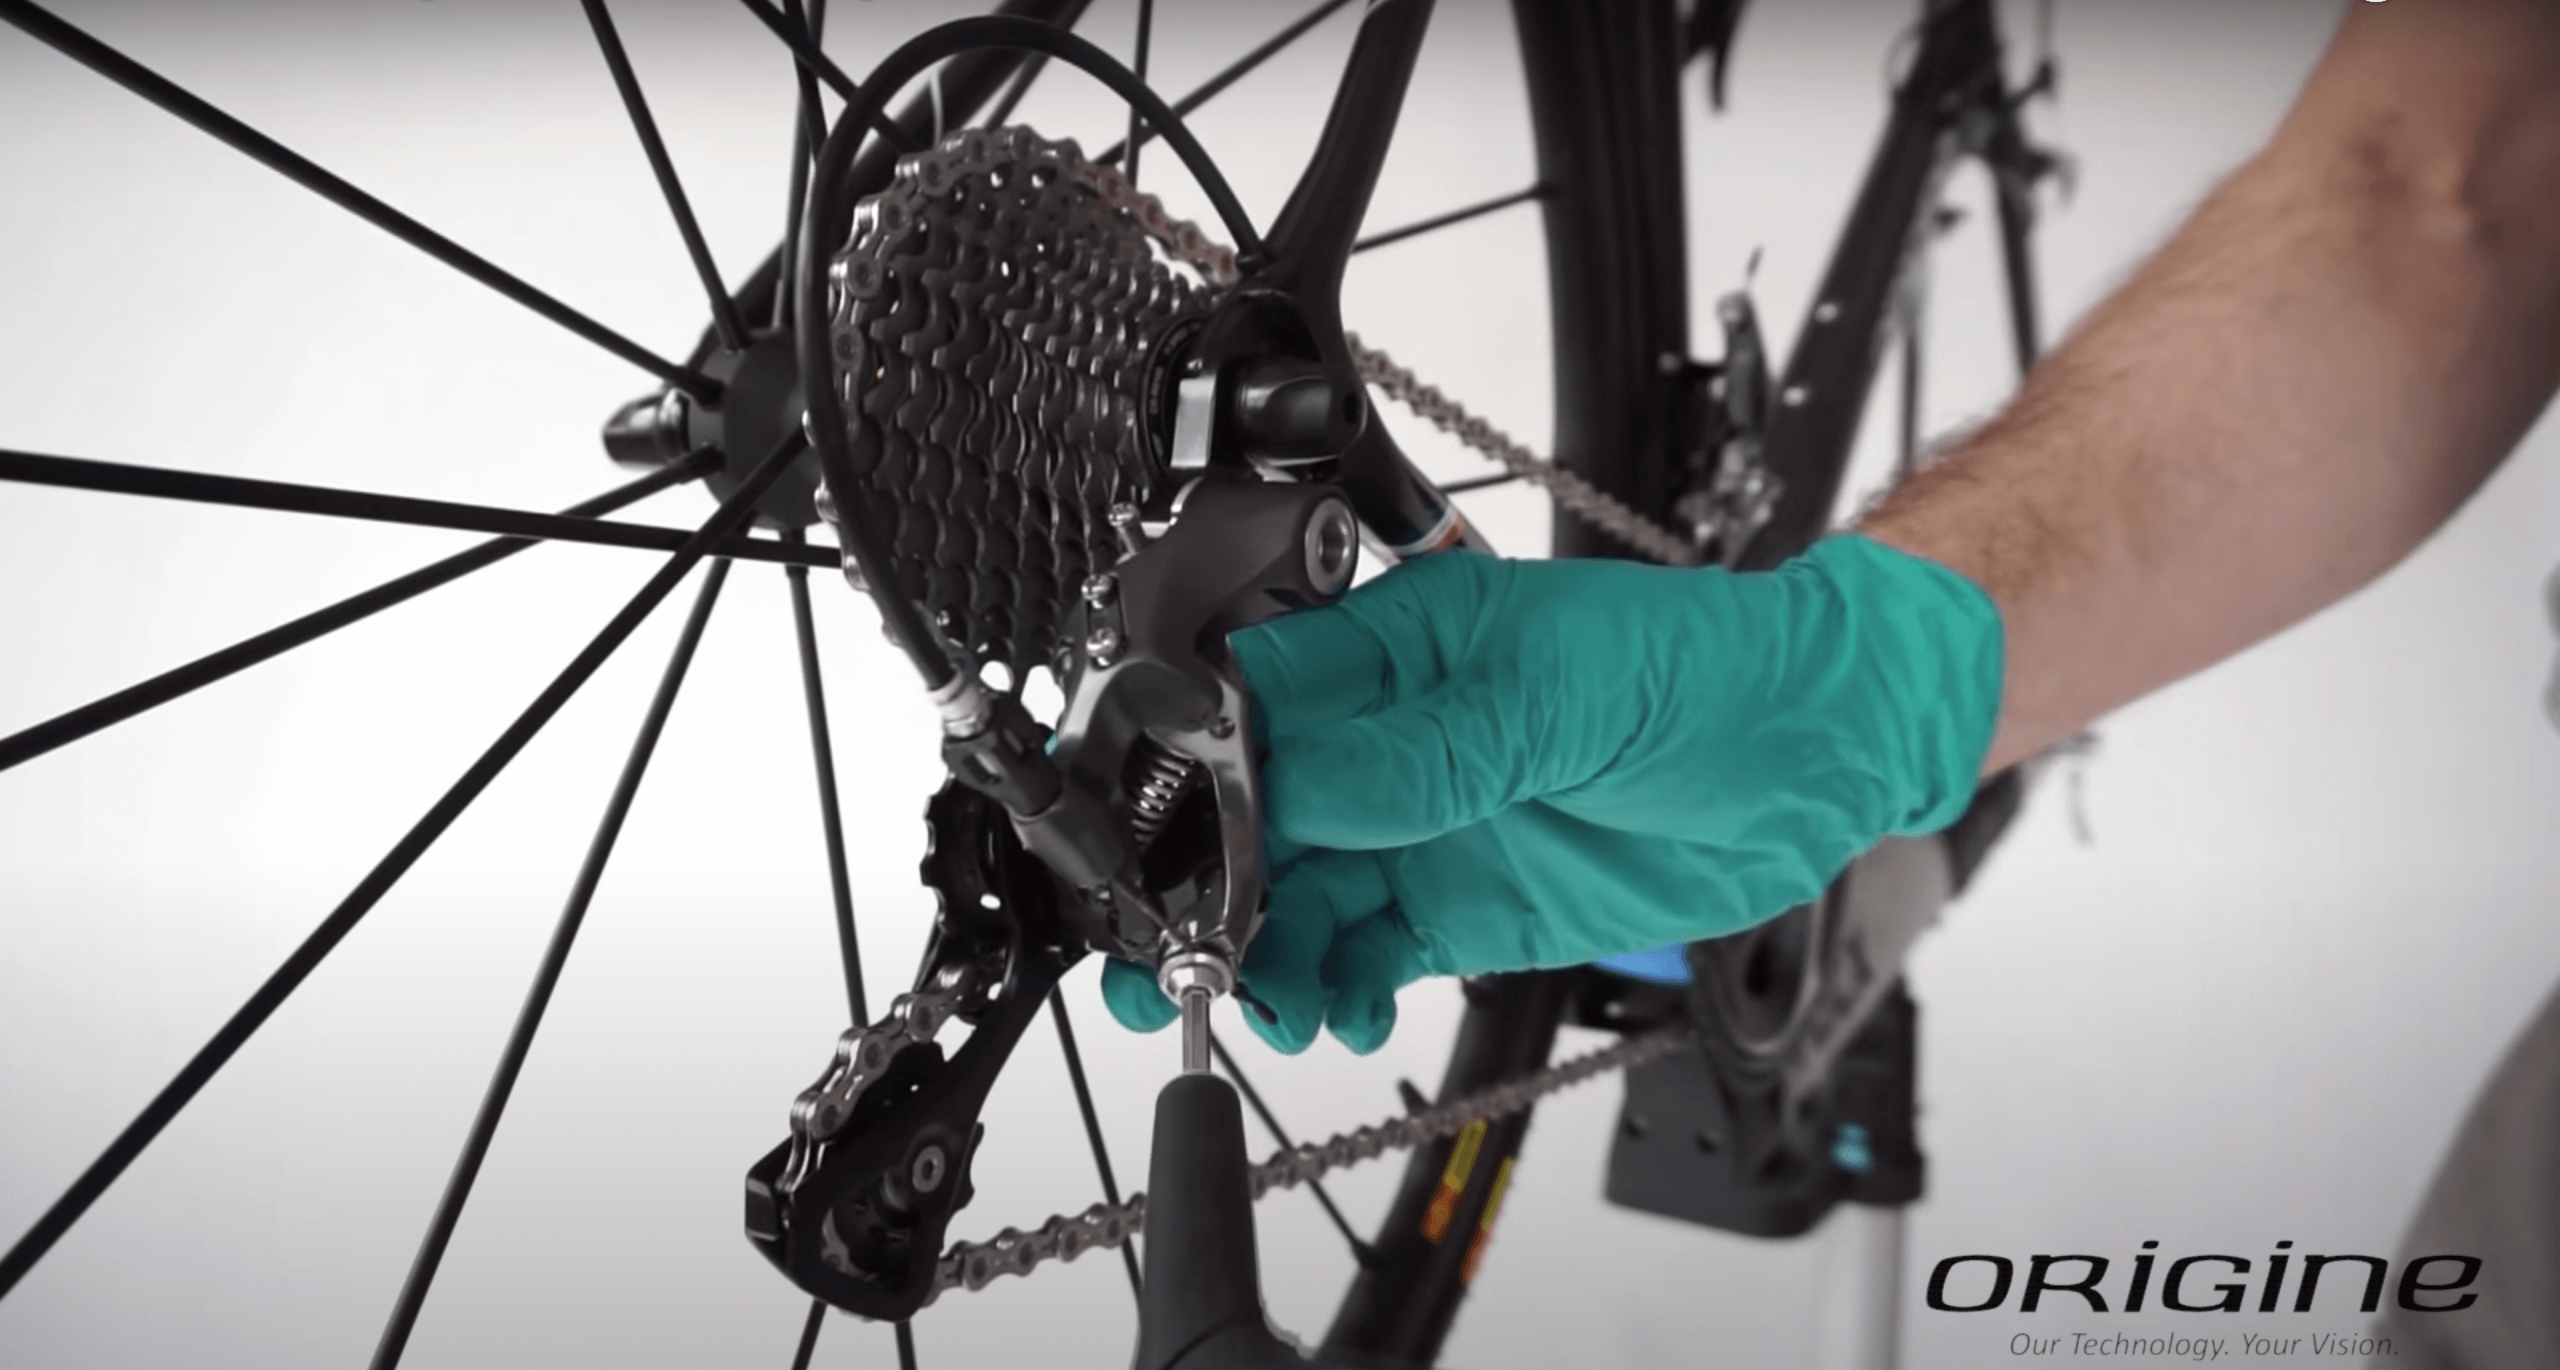
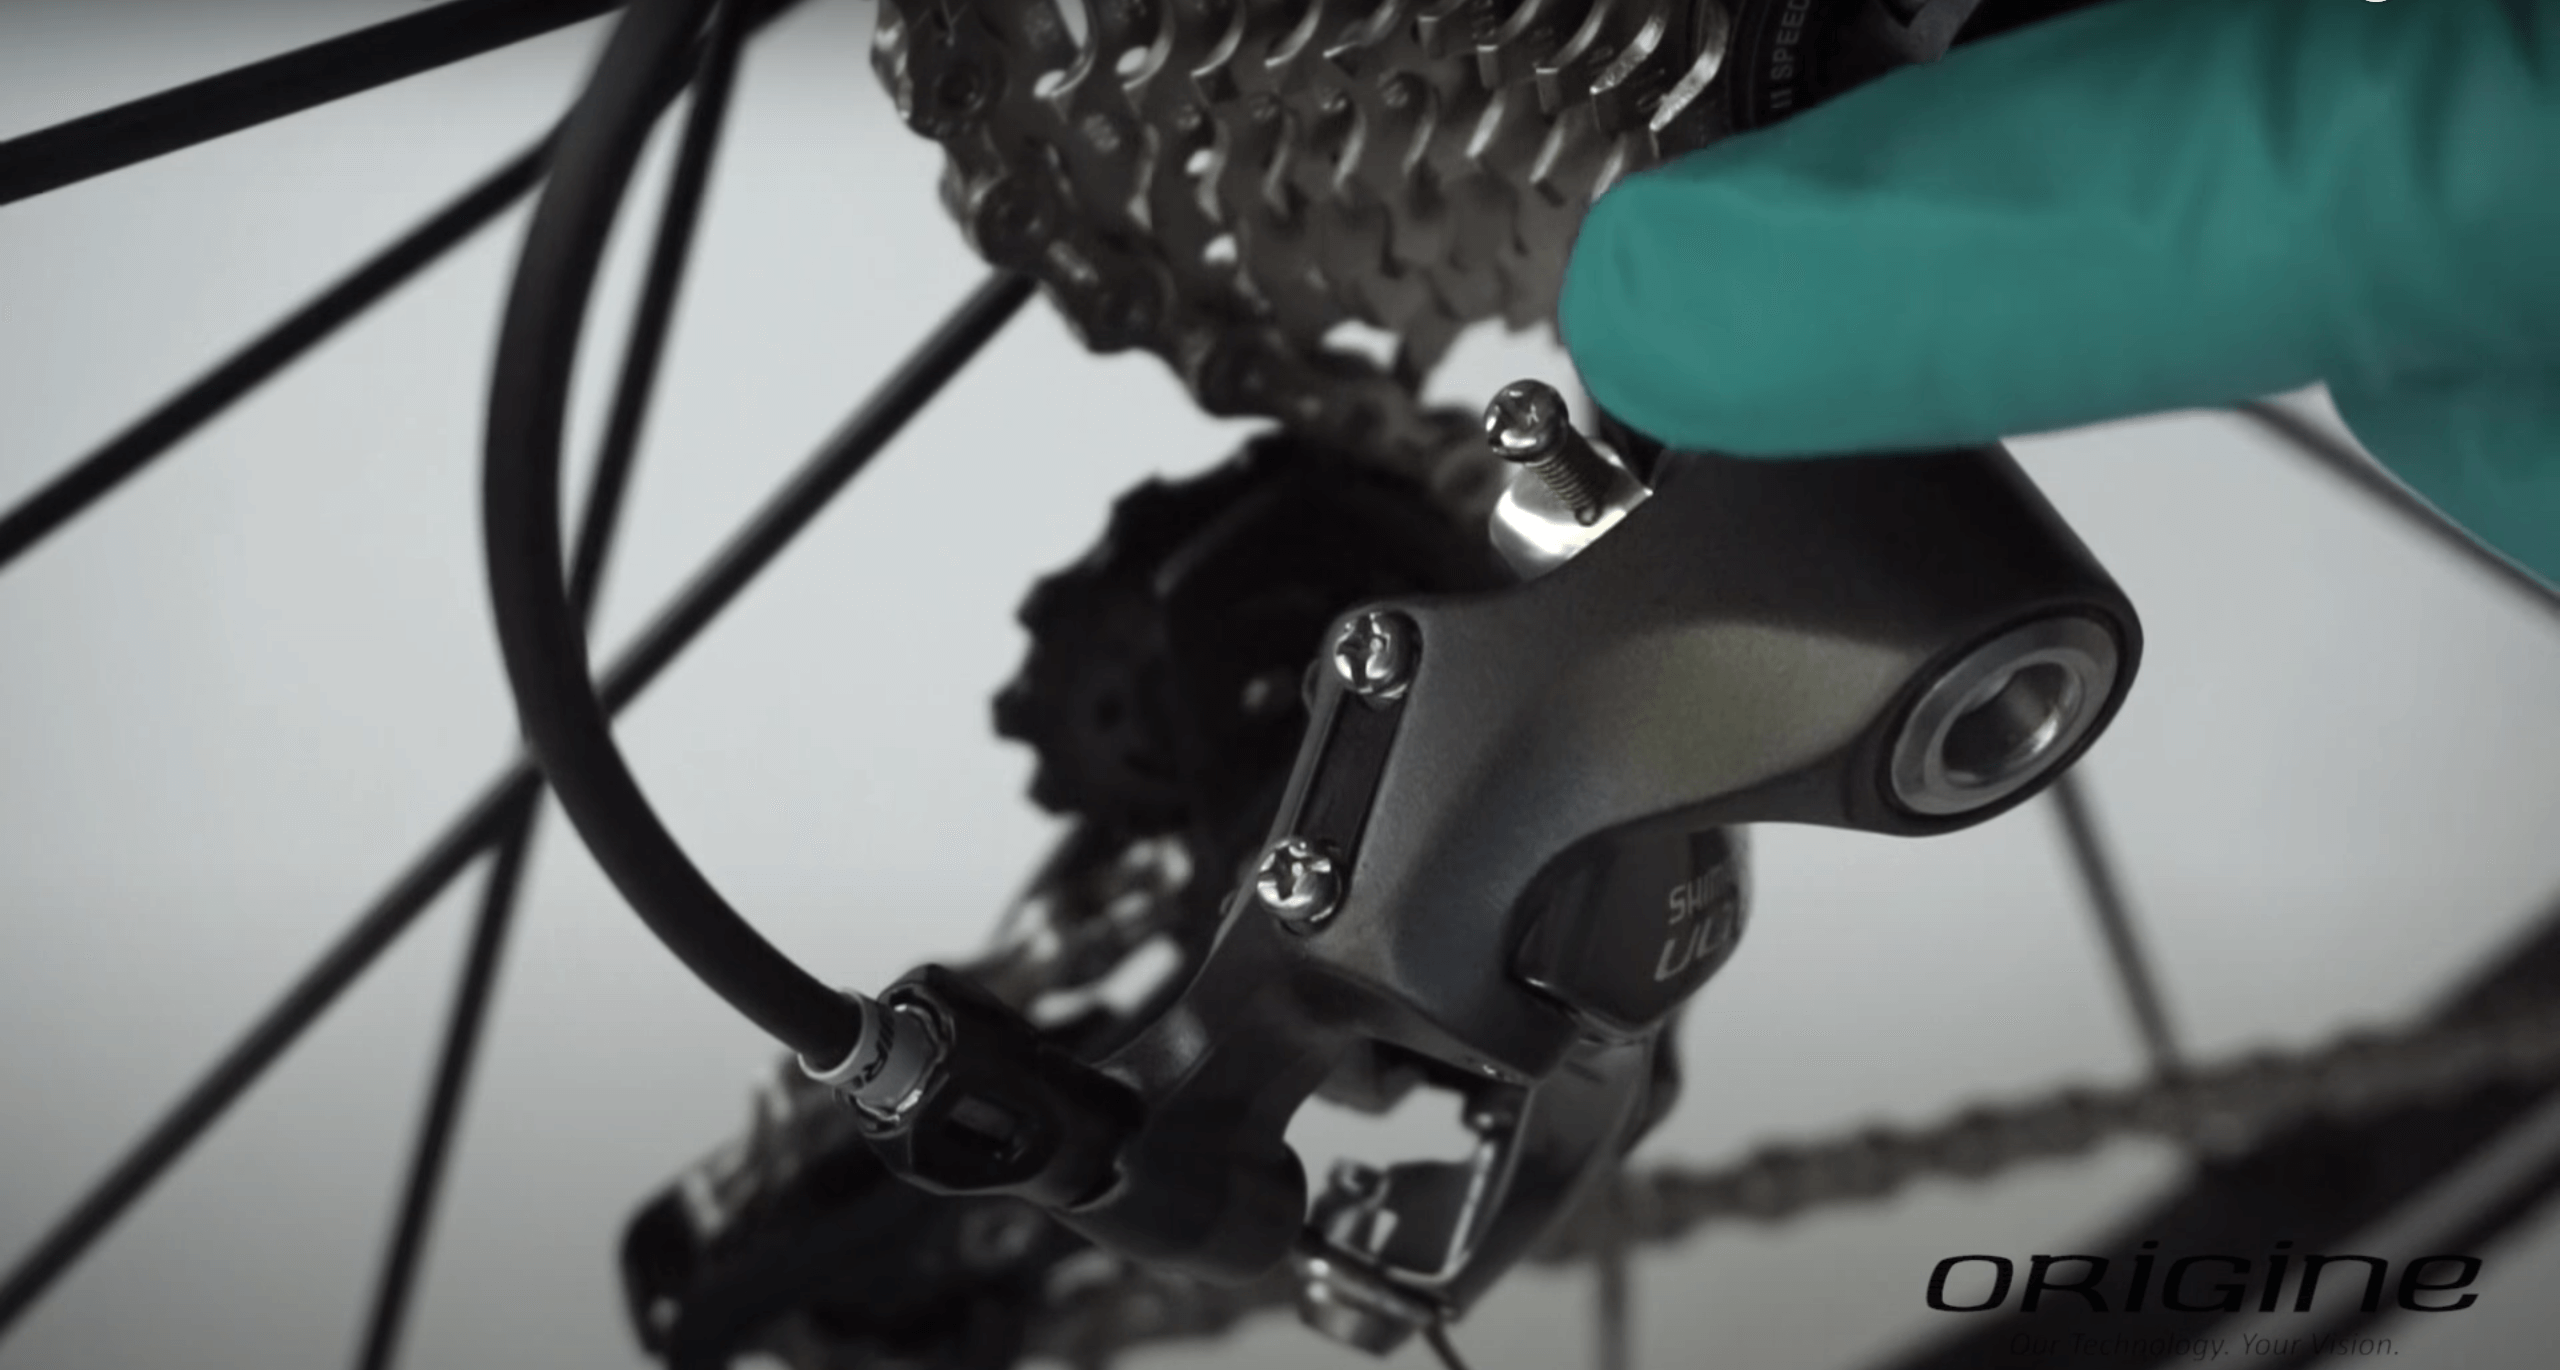
Once this step is completed, we will focus on adjusting the low limit screw. The low limit screw is a common cause of rear derailleur misalignment, leading to chain skips and derailments. The goal is to find the perfect alignment between the cog and the upper pulley.
Adjusting the Low Limit Screw
Next, you will need to identify the screw marked with an “H”. Turn it with your Phillips screwdriver clockwise to align to the left, and counterclockwise to align to the right. The perfect alignment will be noticeable when the chain becomes quieter and stops skipping.
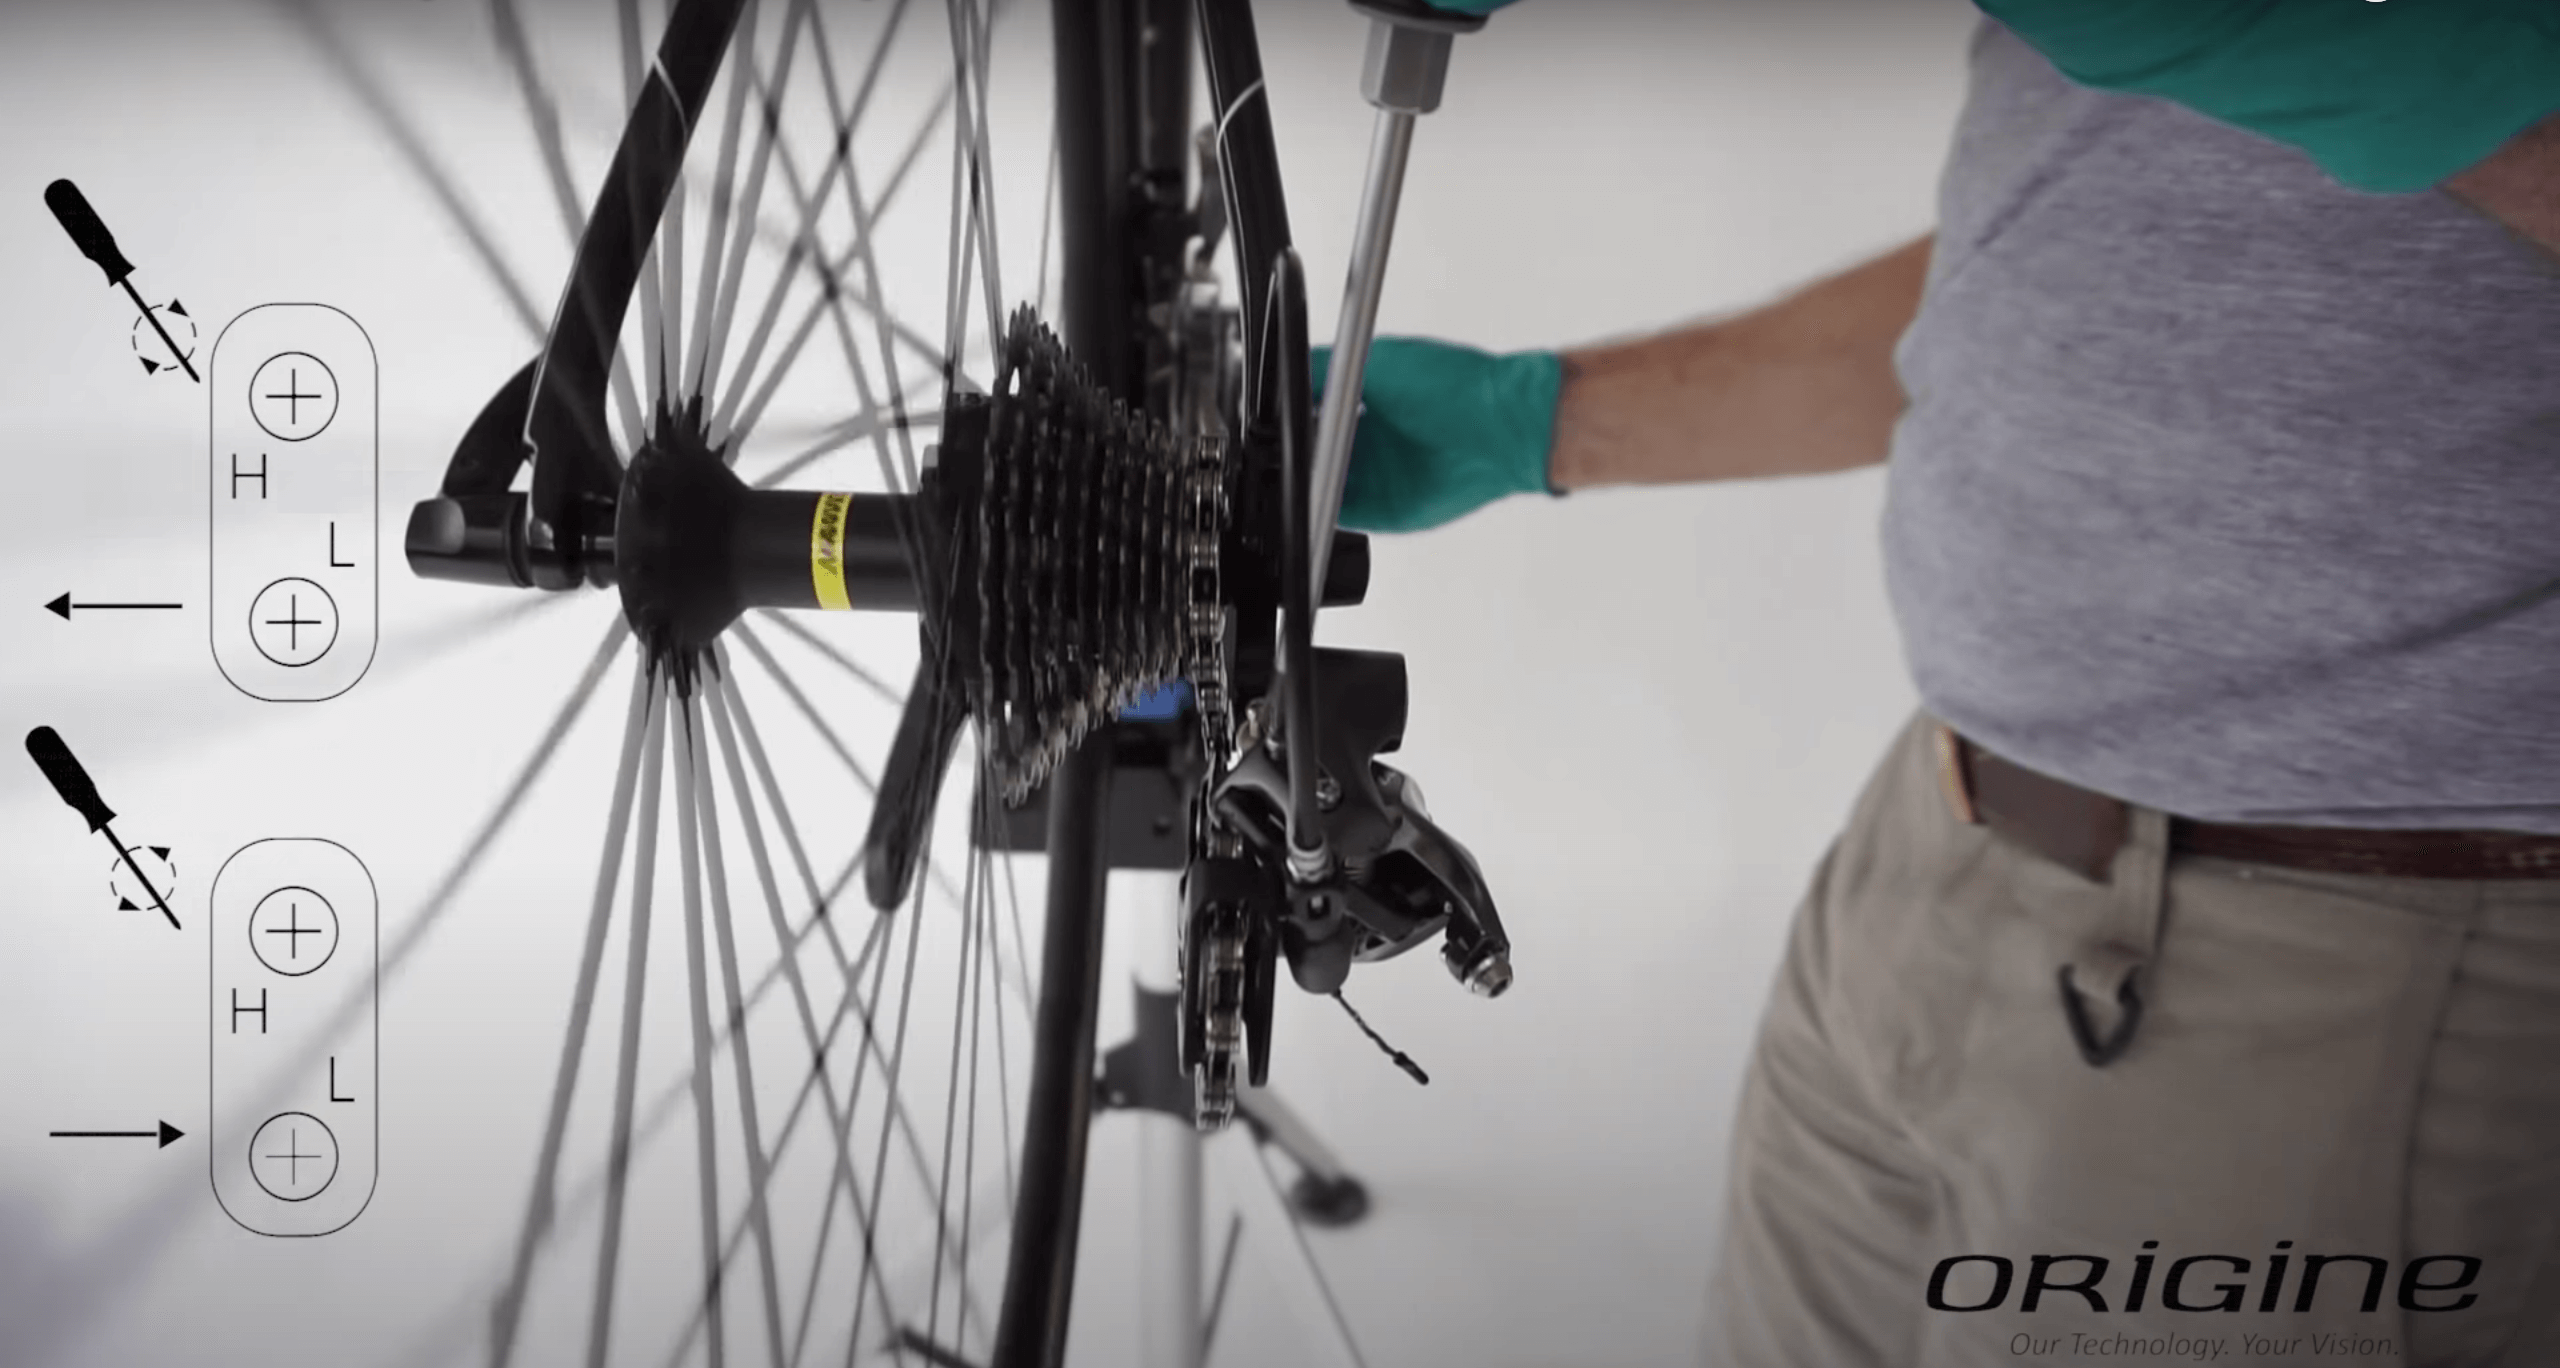
To test the adjustment, you can manually shift the gears by pressing on the movable part of the derailleur and then releasing it. Ensure that the chain does not derail.
Adjusting the High Limit Screw on Your Shimano Rear Derailleur
Next, we will adjust the high limit screw, which corresponds to the largest cog. If it is not adjusted correctly, the chain will derail between the cogs and the wheel rim.
To adjust it, identify the screw marked with the letter “L”. Hold the derailleur on the large cog and turn the screw clockwise to move the pulley to the left. Turn it counterclockwise to move it to the right.
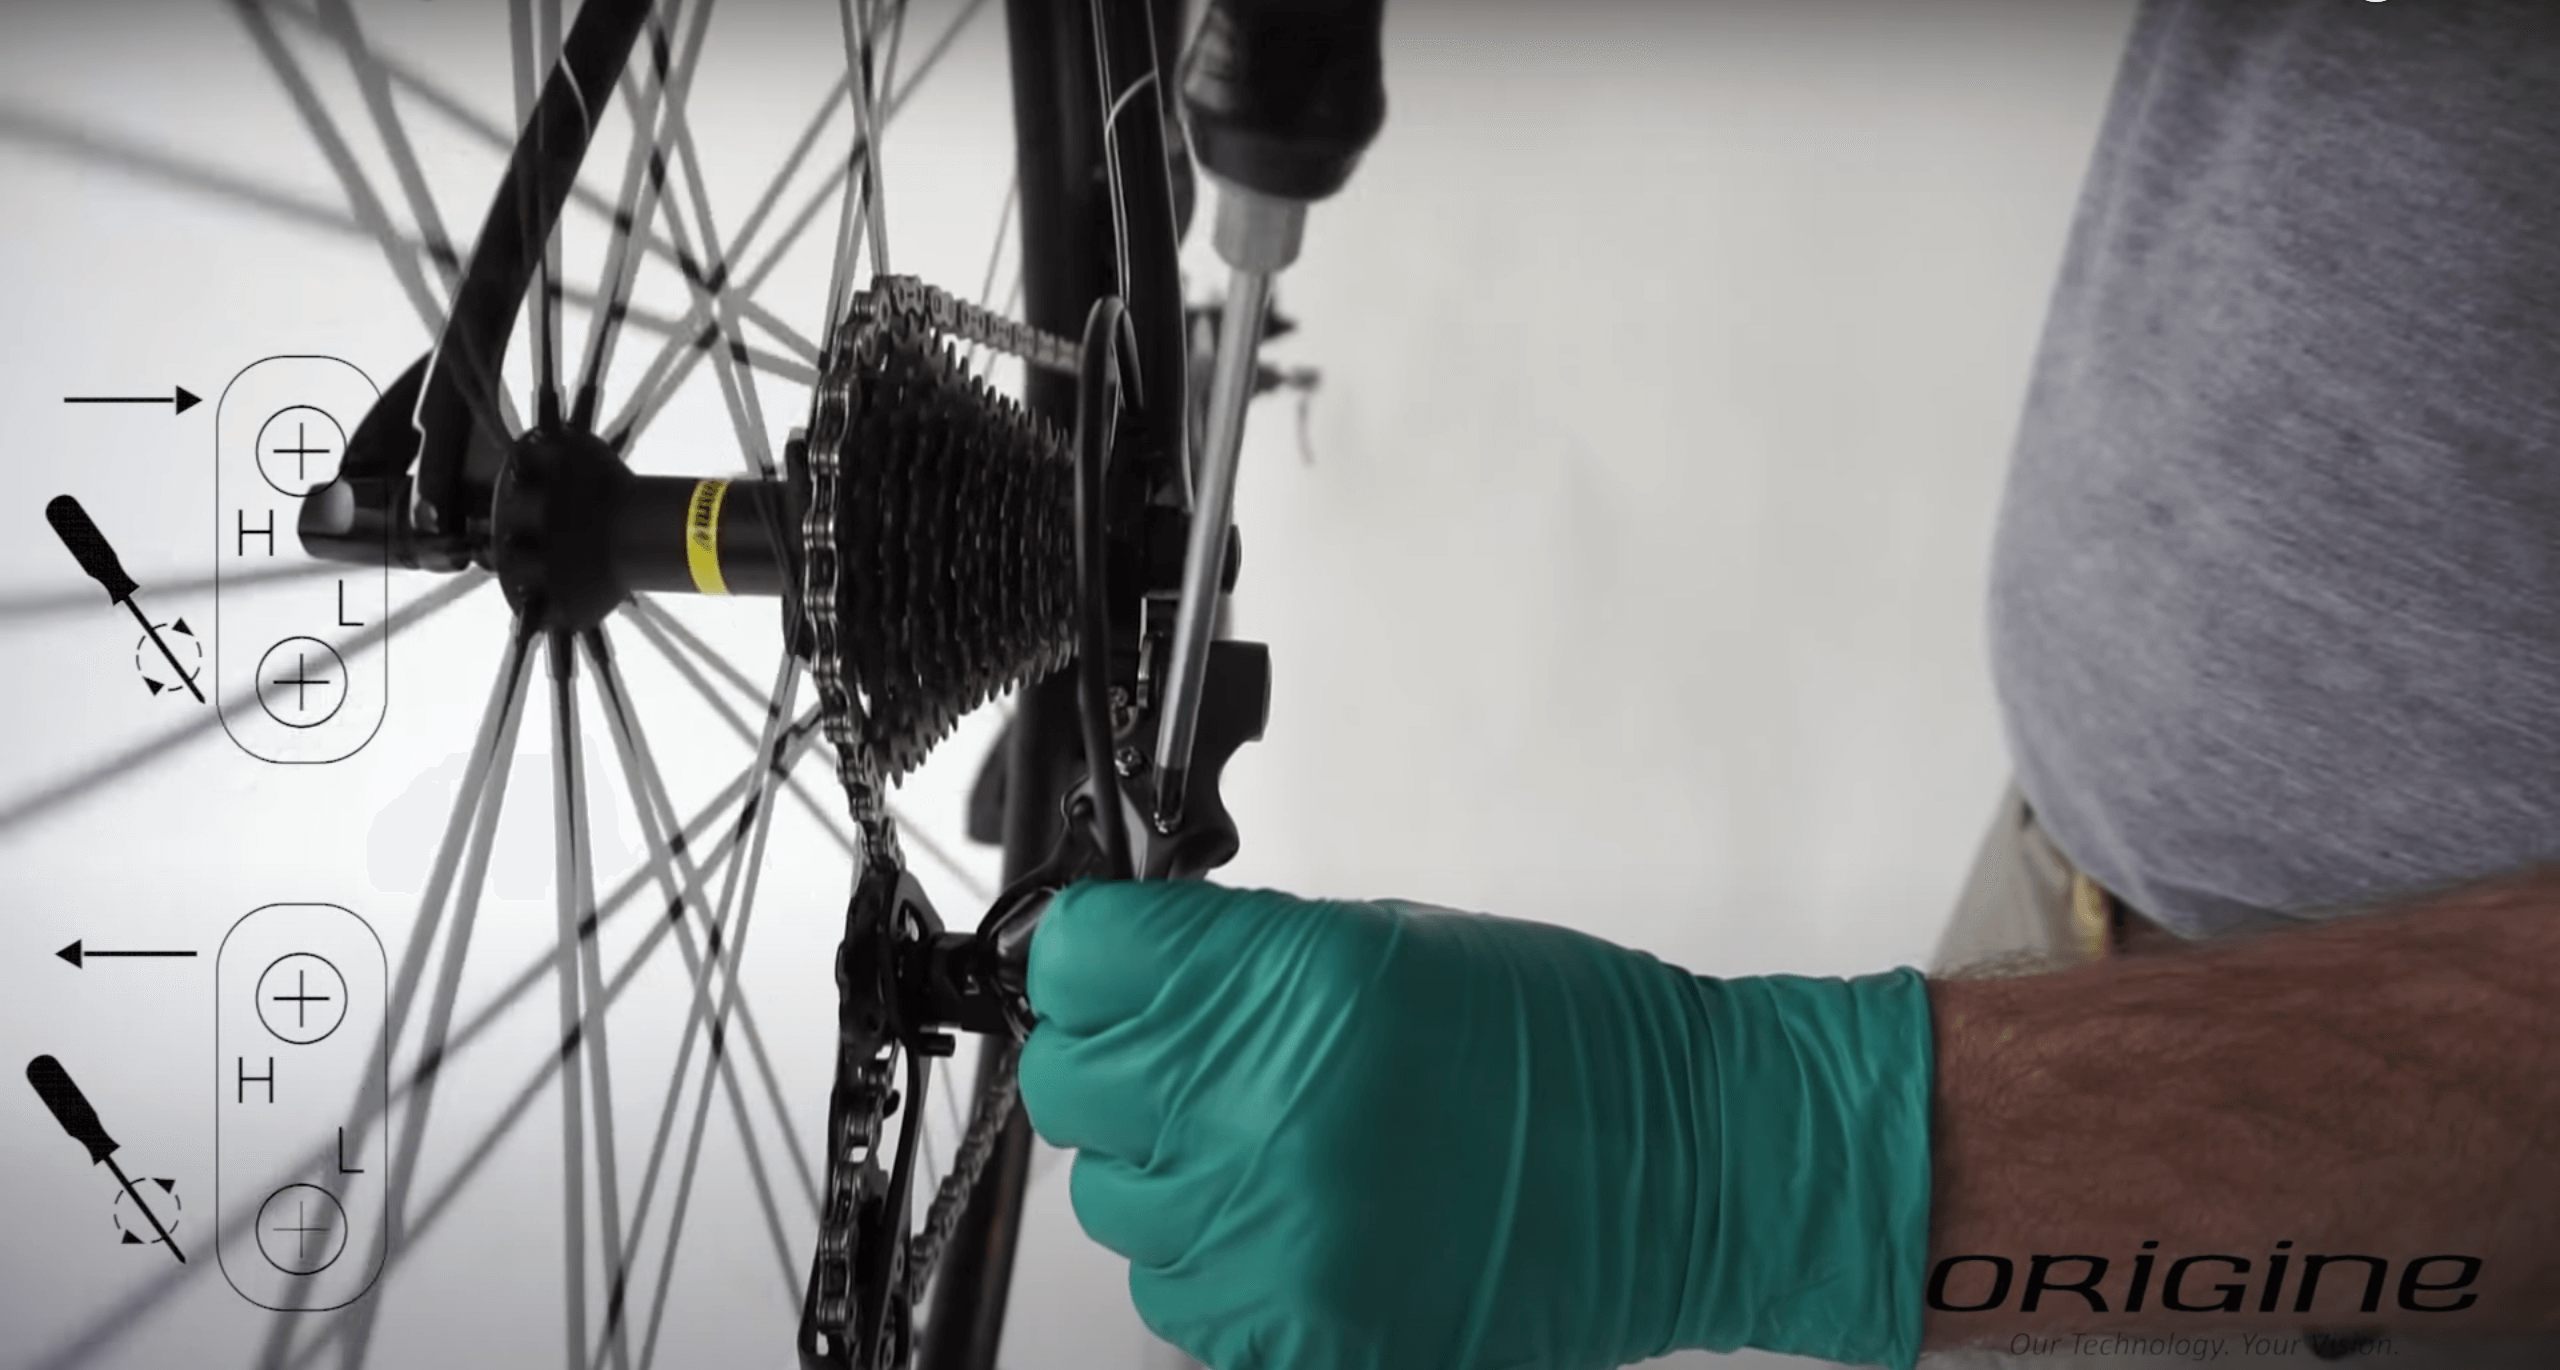
To ensure the adjustment is correct, start from the smallest cog and push the derailleur to the largest cog. The chain should not derail, and the pulley should be perfectly aligned with the cog.
Before re-tensioning the cable, check that the tension adjuster at the rear of the derailleur is screwed in fully.
Tip: Loosen it by one and a half turns to allow yourself the possibility to release some tension if the cable is too tight.
Cable Tension Adjustment
You can now tension the rear derailleur cable using pliers and an Allen wrench. This operation should be performed while the rear derailleur is resting on the low limit screw. Ensure that the cable is as loose as possible in the highest gear (10 or 11).
Once the cable is tensioned, shift one gear up from the smallest cog. The chain should instantly move to the next cog and be quiet on it. If not, you will need to adjust the tension using the adjuster at the rear of the derailleur.
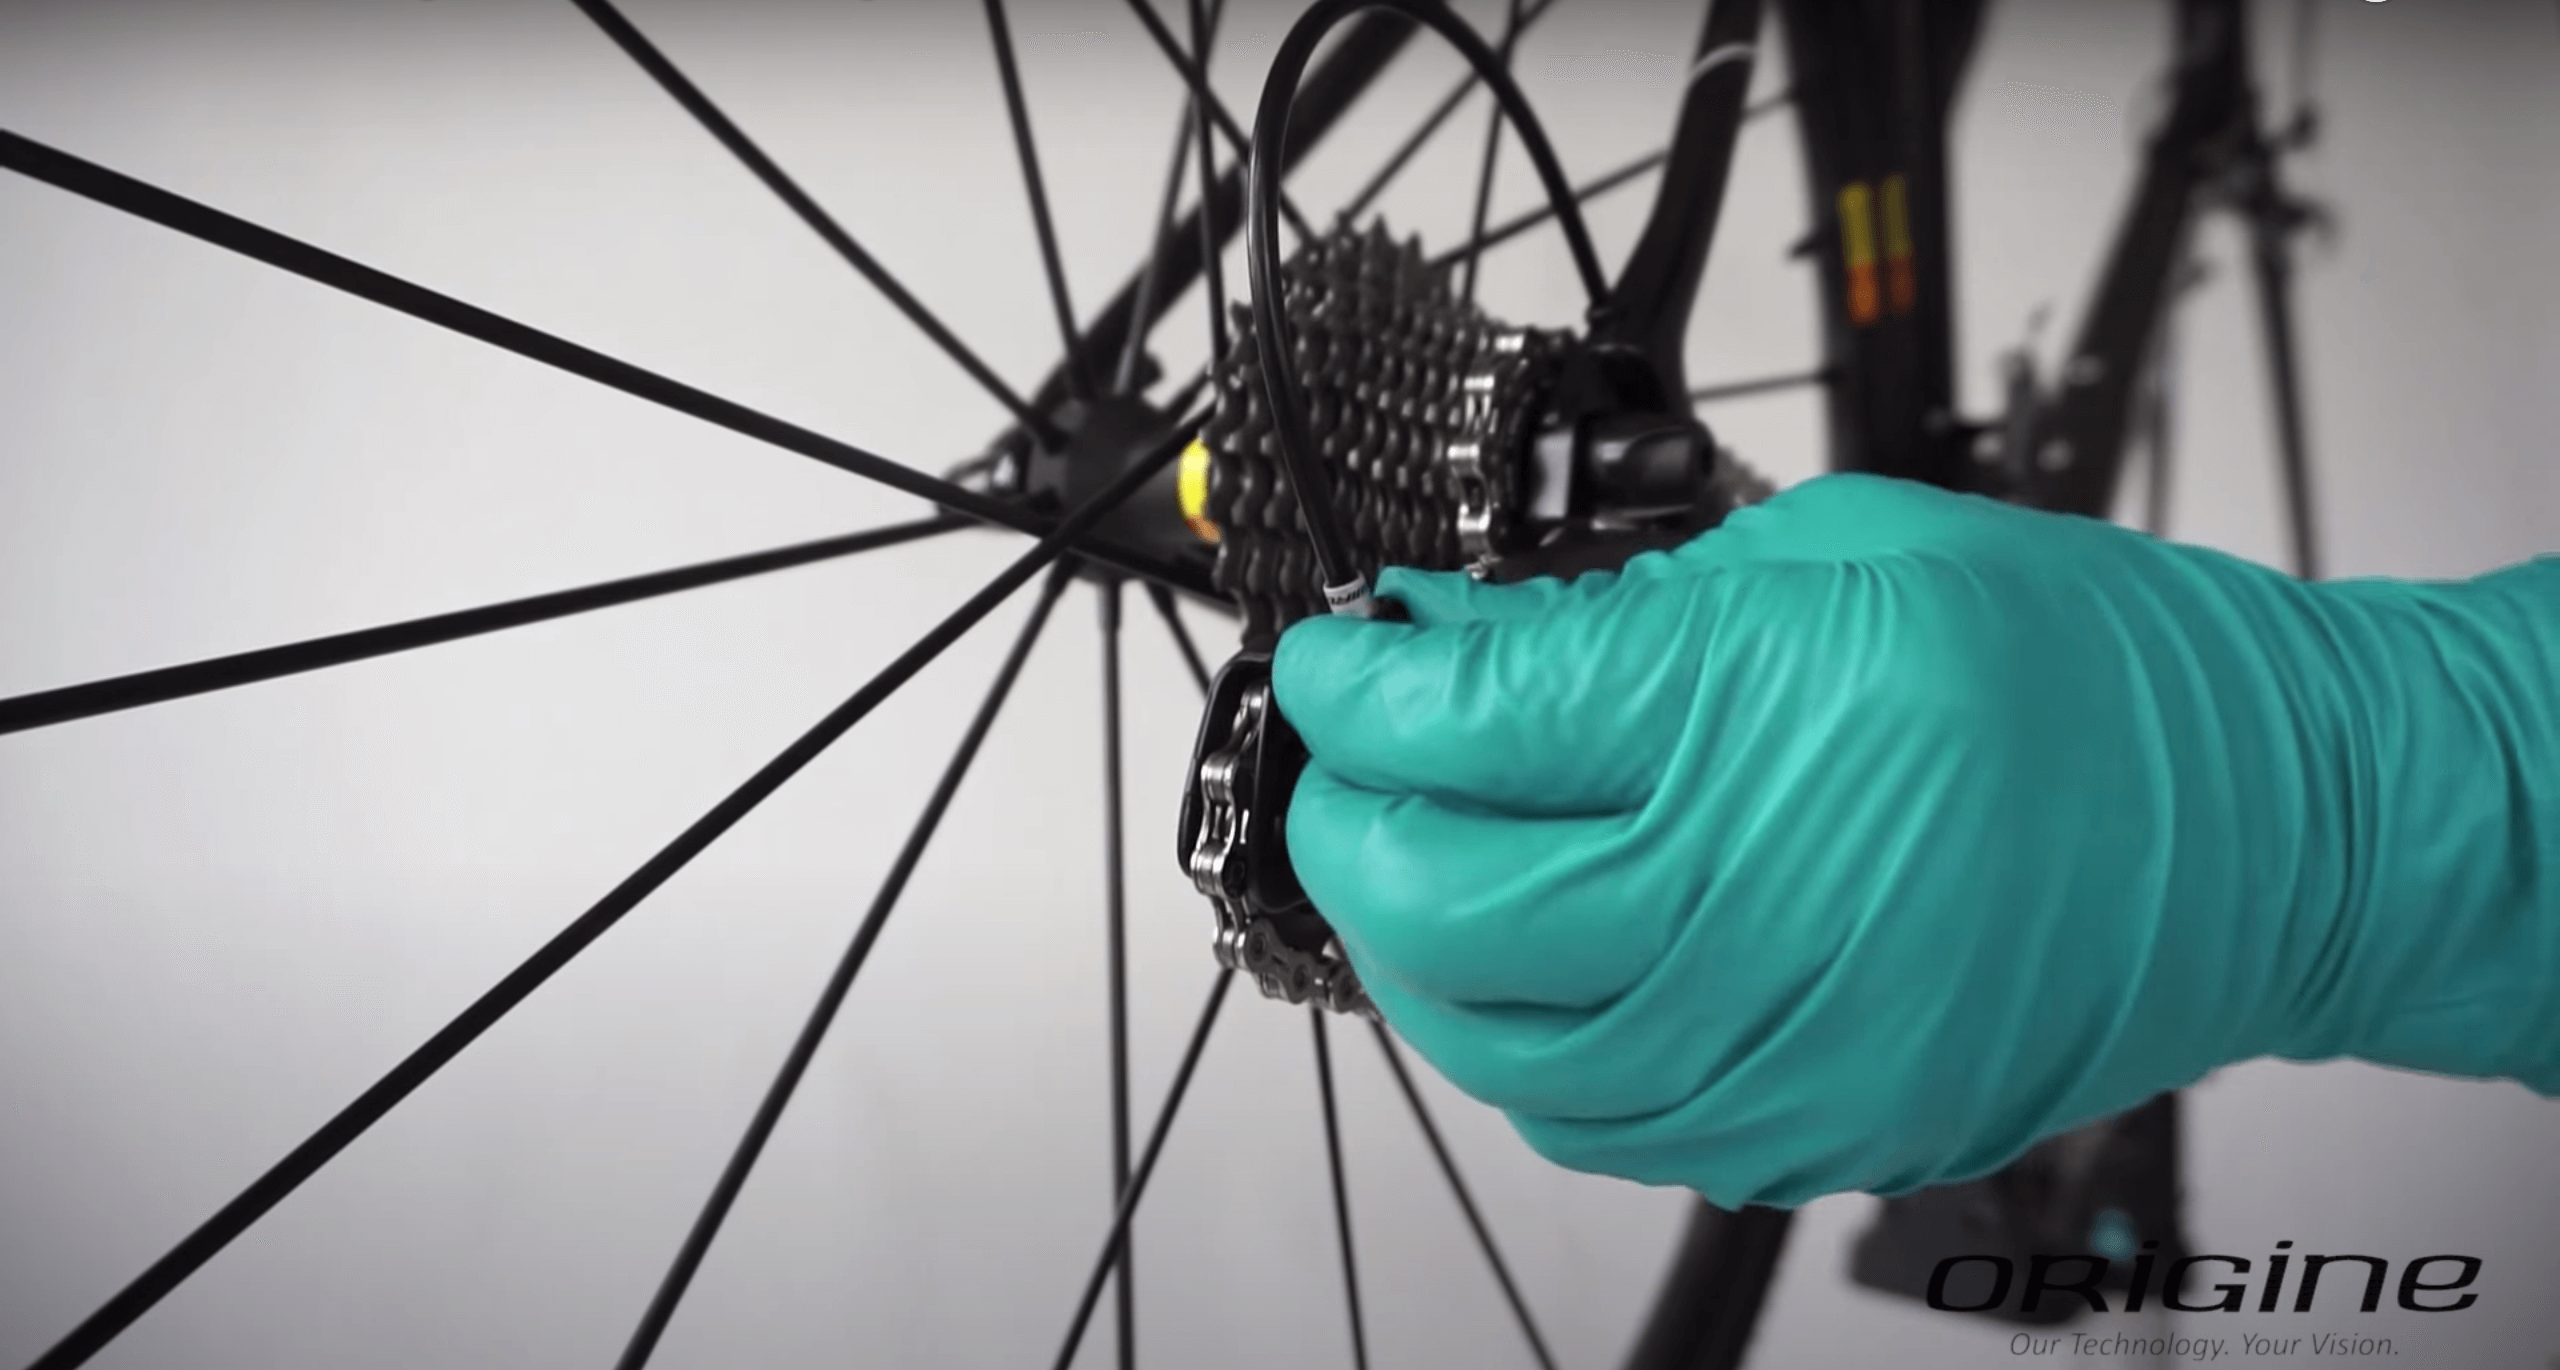
Next, shift through all the gears, ensuring that the chain remains vertical and does not touch the upper pulley. The gears should shift correctly in both ascending and descending order.
Adjusting the Cage Height
Finally, we will adjust the cage height using the screw that rests on the derailleur hanger. The goal is to maintain an approximate distance of 7 millimeters between the derailleur’s upper pulley and the largest cog.
Now that your derailleur is properly adjusted, we wish you a great ride.


![[Guide] How to Get Started in Ultra-Cycling ?](https://cyclisthouse.origine-cycles.com/wp-content/uploads/2021/12/BikingMan-x-Origine-Cycles-1_adobespark-400x250.jpeg)
