In this tutorial, we’ll explain how to center your disc brake calipers. This guide applies to road bikes, gravel bikes, and mountain bikes, and works for all models of hydraulic disc brakes.
Tools You’ll Need:
– A 3mm or 4mm Allen key
– A torque wrench with a compatible Allen bit
The process described below is the same for both the front and rear calipers.
Step 1: Loosen the Caliper Bolts
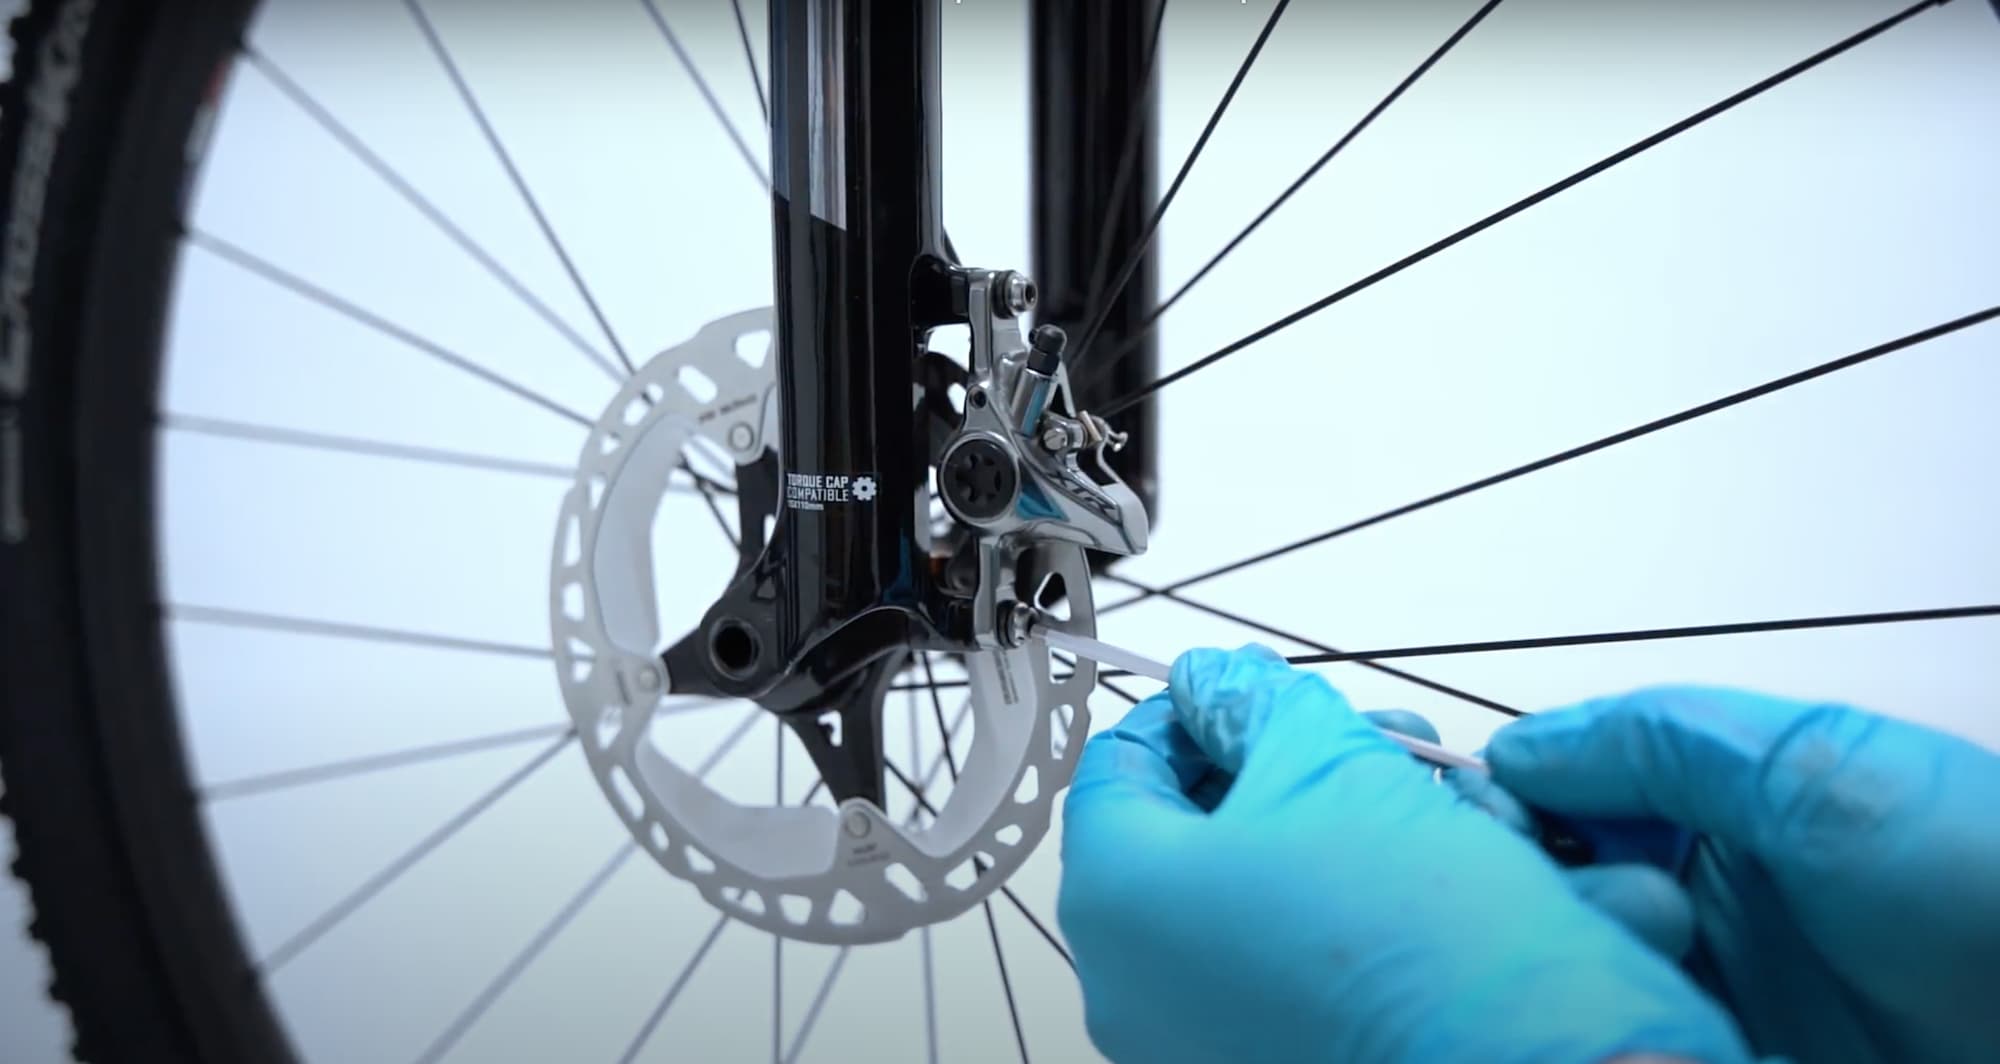
Start by loosening the two bolts on your brake caliper using the Allen key. There’s no need to remove them completely—just loosen them enough so that the caliper can move laterally. This will allow you to adjust its position for proper alignment.

Step 2: Center the Disc Brake Caliper
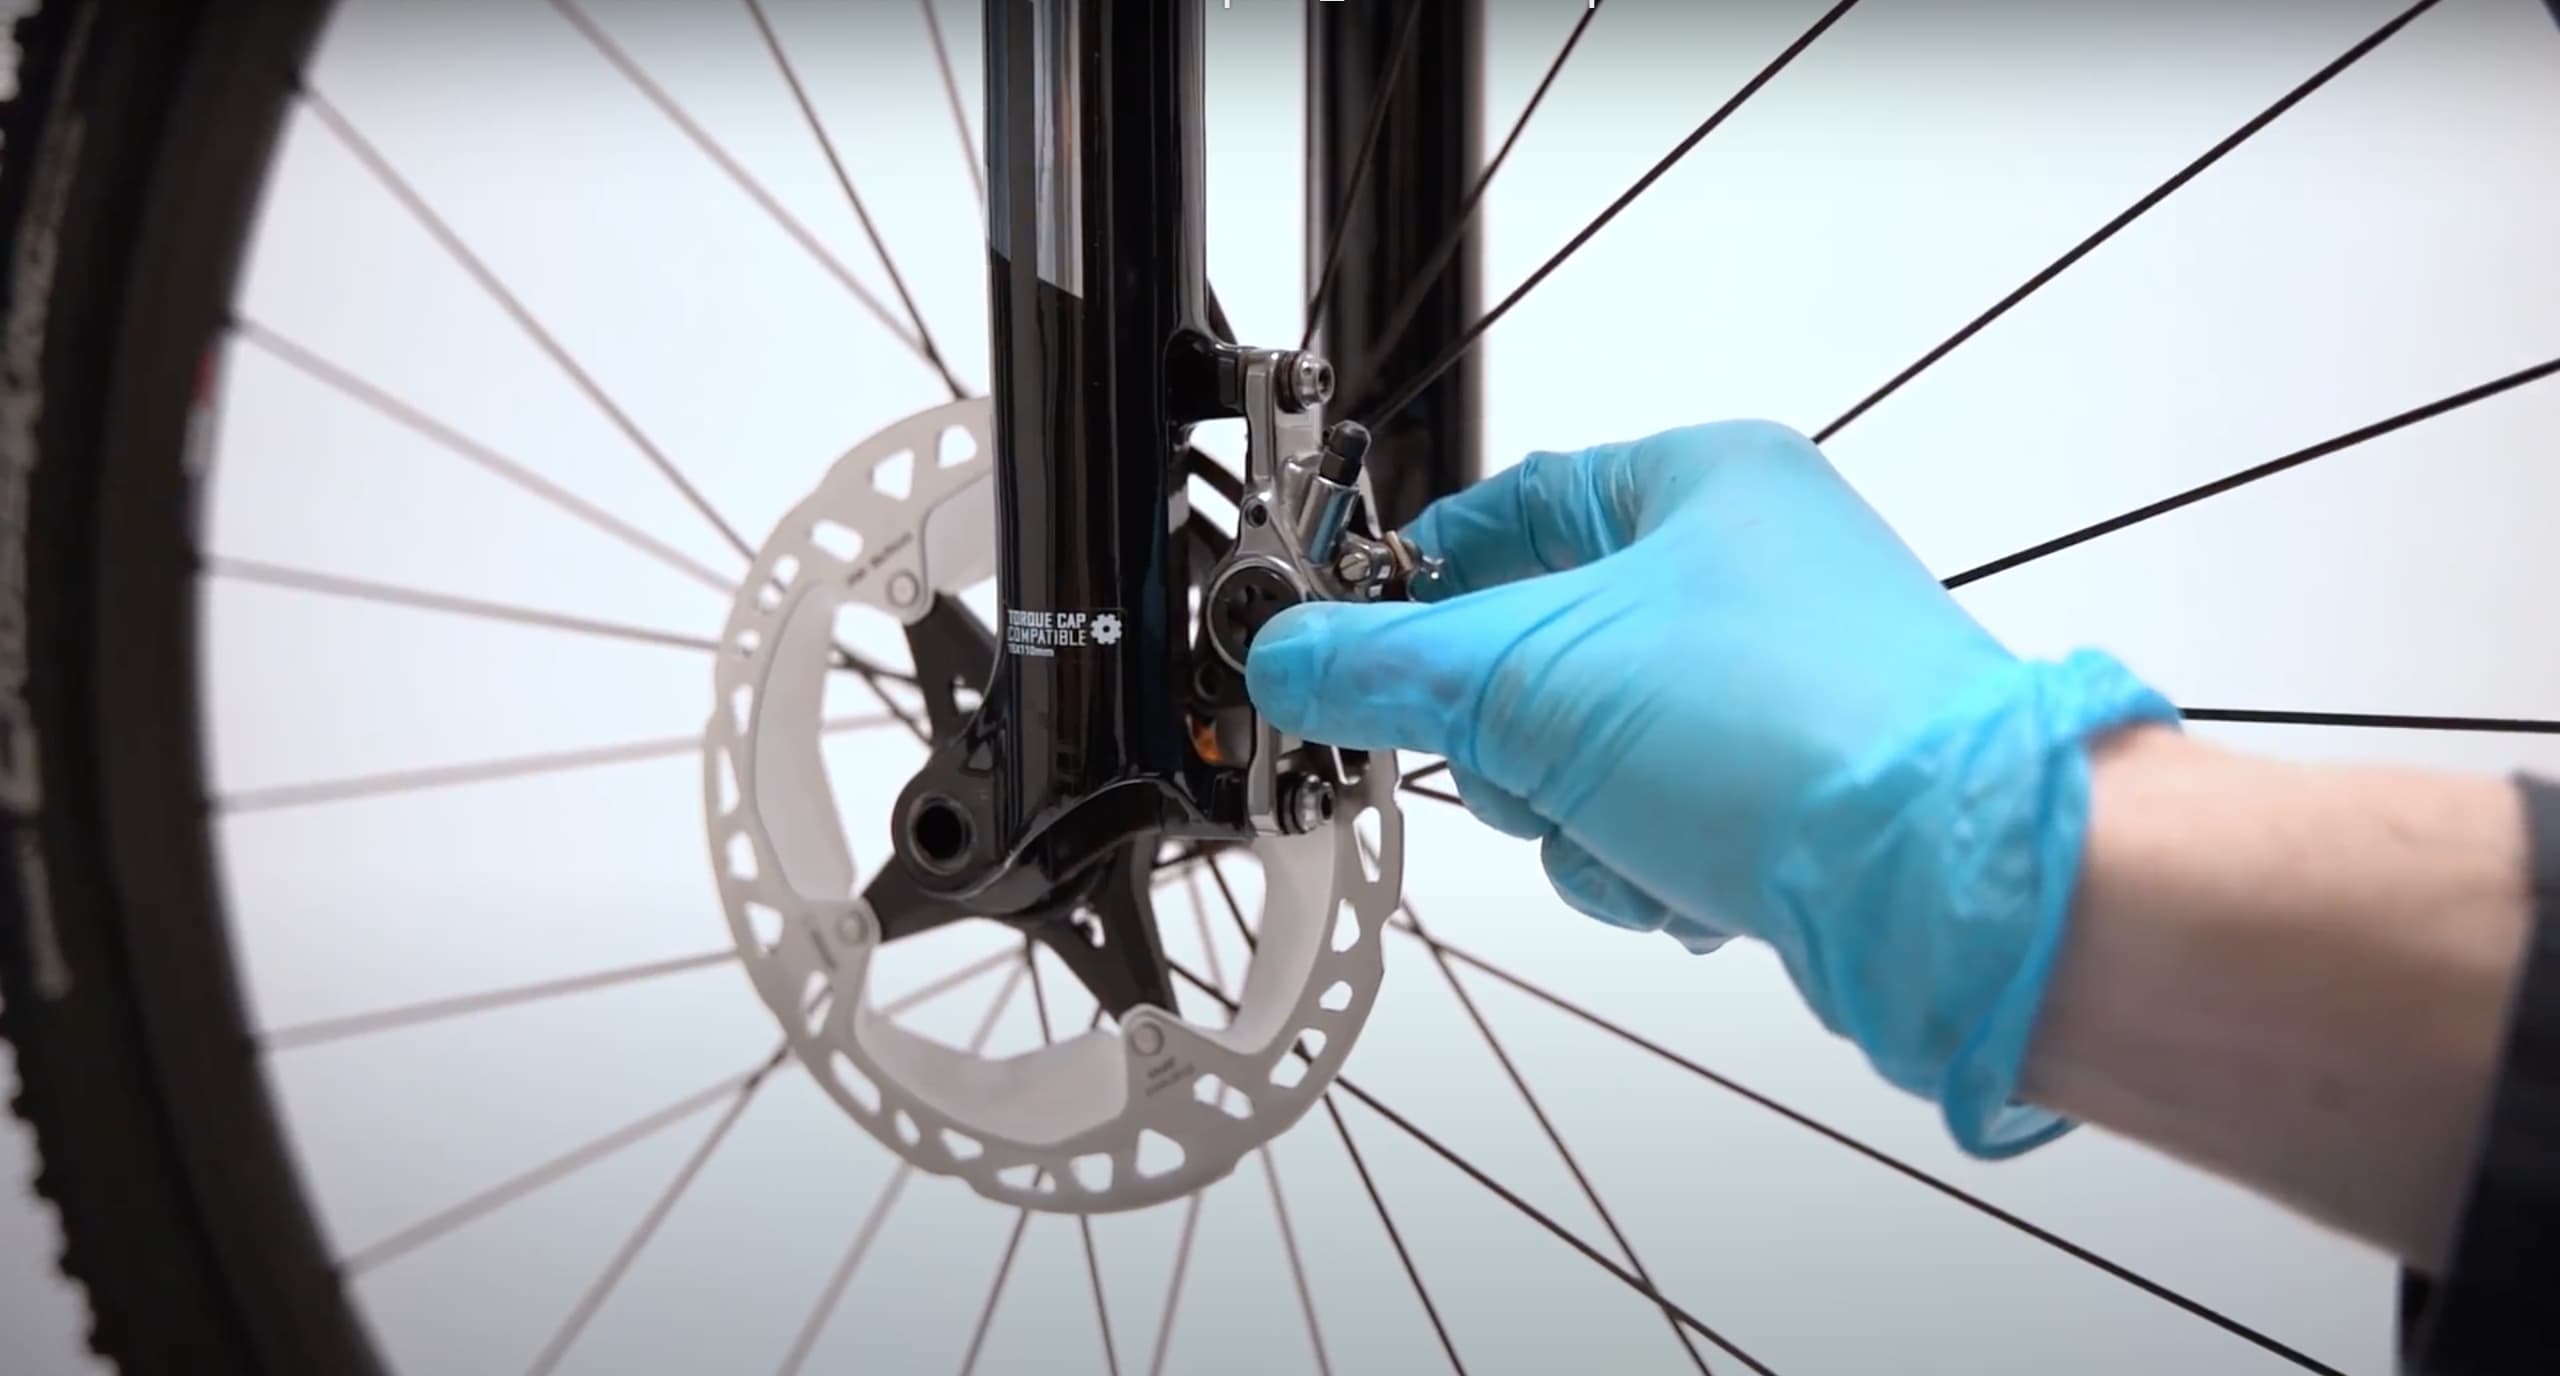
Now, visually align the caliper so that the rotor sits equidistant between the left and right brake pads. Spin the wheel and then firmly squeeze the brake lever in one quick, decisive motion. Keep the brake lever held tightly to lock the caliper in place for the next step.

Step 3: Tighten the Brake Caliper
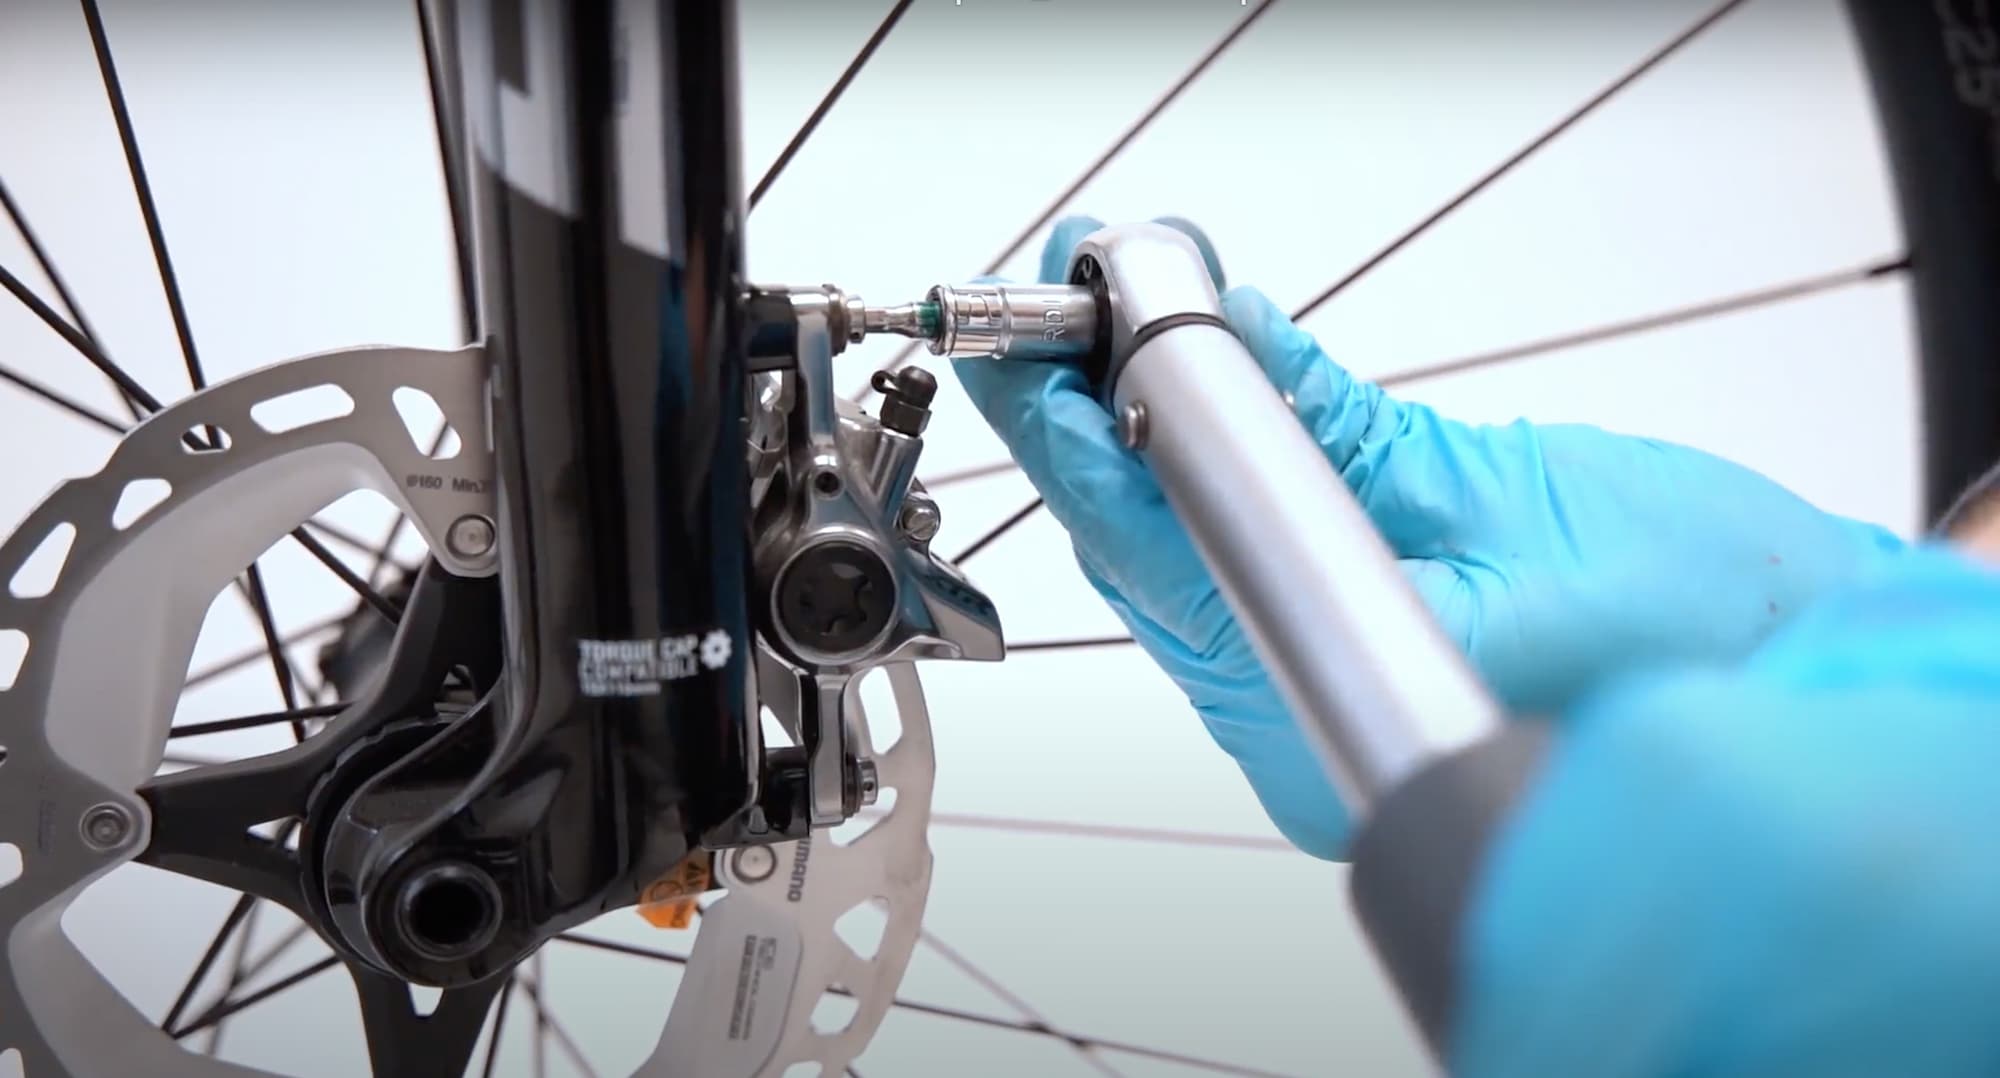
While keeping the brake lever firmly squeezed, tighten the two mounting bolts on the caliper using your Allen key. Alternate between the bolts as you tighten them gradually until they are snug. Once snug, finish tightening them to the proper torque using your torque wrench.
Release the brake lever and spin the wheel to check the alignment. The rotor should rotate freely without rubbing against the brake pads. If everything looks good, your caliper is now properly centered!

Step 4: If the Disc Rubbing Noise Persists
If you still hear intermittent rubbing, it may indicate that your rotor is bent. In this case, you’ll need to straighten the rotor or replace it if the bend is too severe.
If there is continuous rubbing noise coming from the other caliper, repeat the same centering procedure on that caliper.
Once both calipers are properly centered, you’re ready to ride. Enjoy your smooth and silent braking system!


![[Guide] How to Get Started in Ultra-Cycling ?](https://cyclisthouse.origine-cycles.com/wp-content/uploads/2021/12/BikingMan-x-Origine-Cycles-1_adobespark-400x250.jpeg)
